Merging 2D and 3D animation is one of the most popular styles in motion design these days. With this pro-level workflow, learn how to merge your Adobe Animate animations with your Cinema 4D renders in After Effects.
A thought that often crosses my mind these days is how will 2D animation styles change over time as strictly 3D tools seem to be growing in popularity in a big way. One thing I’ve seen a whole lot of is 3D and 2D being merged together in ways that would have never been dreamed of before. The Spider-Verse films along with things like TMNT: Mutant Mayhem and even The Mitchells vs. The Machines are pointing towards the future of animation, finding every way to inventively merge the two styles.
Now is a great time to learn how to add hand-animated 2D elements to your 3D renders. There are a number of ways to do this, but you want to make sure to set things up on both sides of the animation to make sure that you’re able to make the best use of your assets when compositing. This above video really runs through what is a very functional and efficient workflow for getting these effects right.
Creating A Reference Animation

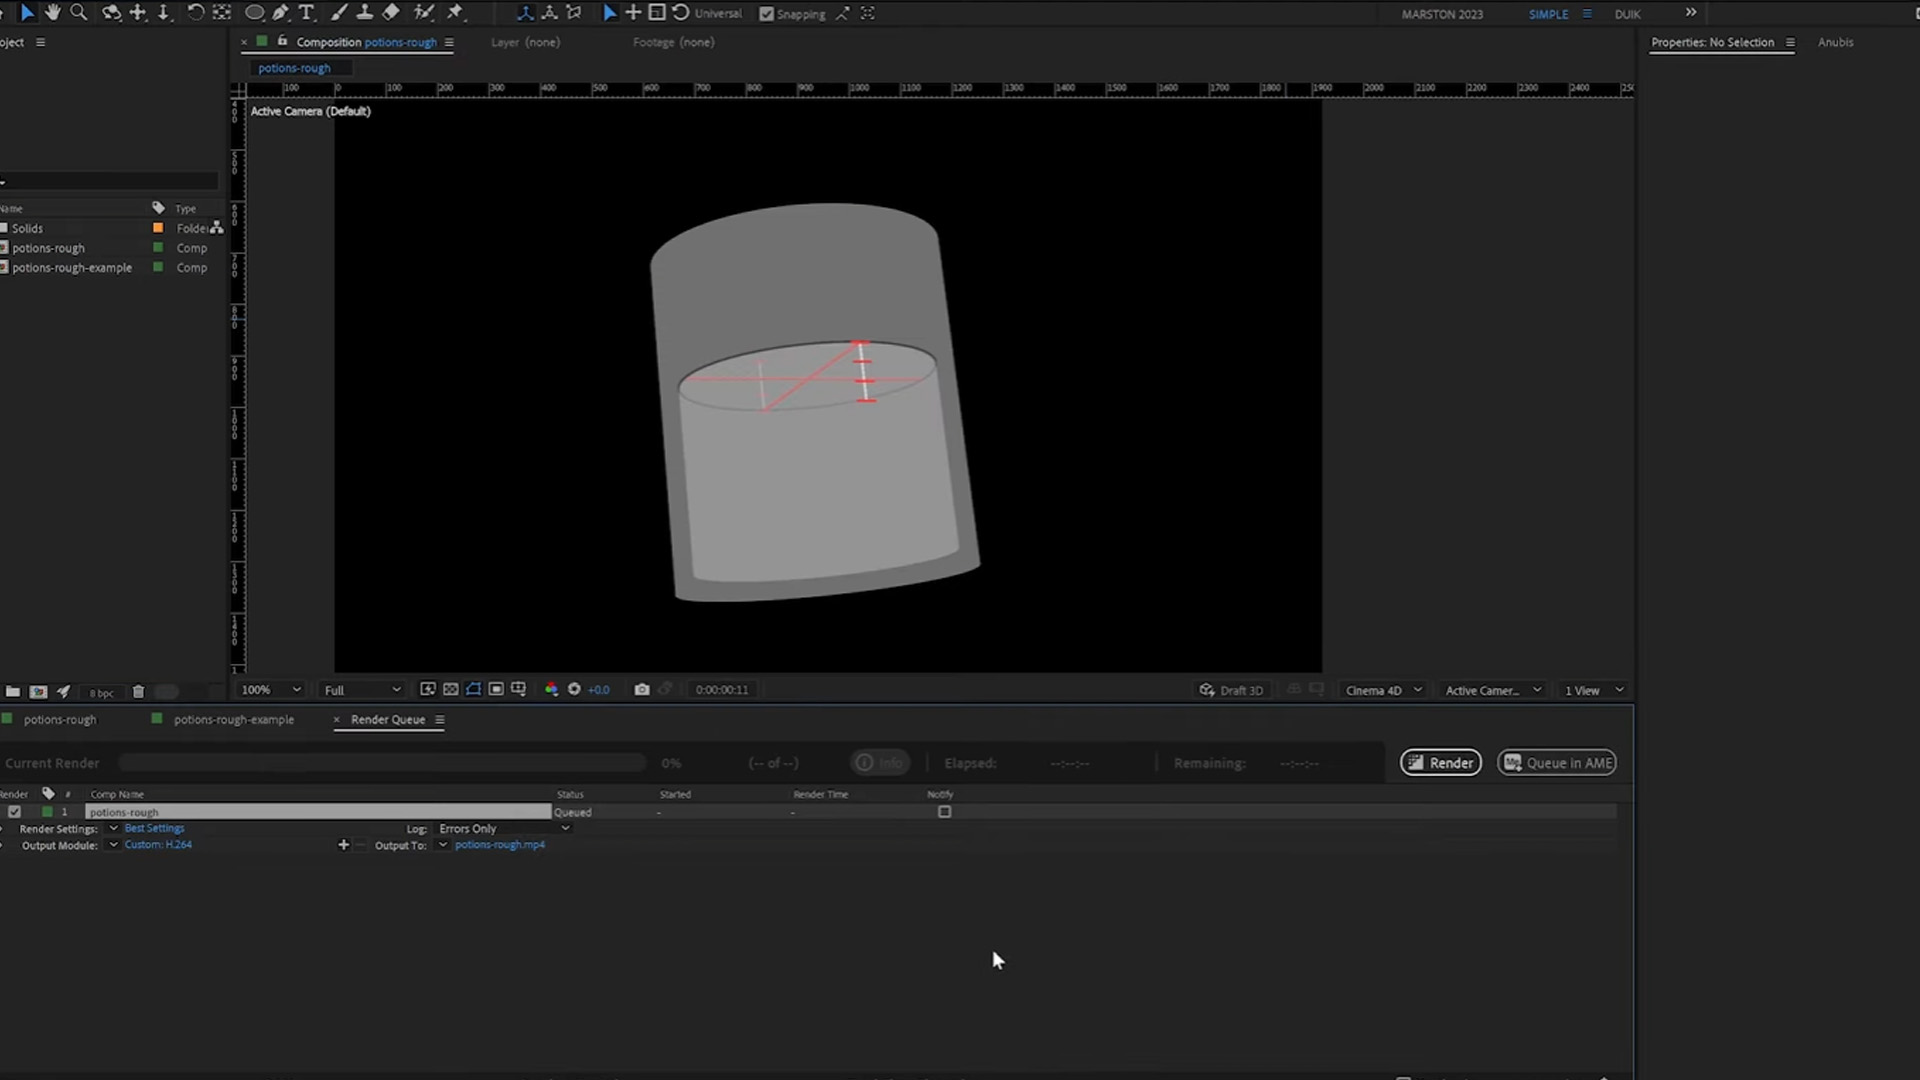
Any designer will tell you that when possible and applicable, using reference imagery to get your started on the right foot will always yield much better results. In this example, using After Effects, Andrew sets up a nice little 3D version of the bottle he aims to create, and makes the nice little looping animation to create the animation on top of in Adobe Animate.
Even leaving little lines and reference points for the liquid’s high and low points as it swishes around the bottle, having these reference points makes it so much easier to match a frame by frame animation to something that’s already in motion.
Using the Cinema 4D native renderer that’s already inside of After Effects, you can create basic primitives and lines that you can use for reference in your 2D animation software. This also allows you to export a C4D file directly from After Effects, which saves time once you get to the 3D side of things.
Using Adobe Animate

Adobe Animate is a piece of software I’ve actually never used before, but after watching this—It definitely seems like a really nice useful tool for frame by frame animation. It has everything you need to start adding cel-style animation to your work.
Namely, it has onion-skinning, which is really the main thing you need to make this type of animation work. It allows you to see your past and future keyframes in a lower opacity view, so you can see what you need to do on your current keyframe to get the effect you’re going for animation-wise. Aside from that, it allows you to paste in your reference imagery and keep that in the background as well, so you can match your animation to it. There’s obviously a ton of different uses for this, even for more abstract VFX work.
ENROLL NOW!
Acidbite ➔
50% off everything

ActionVFX ➔
30% off all plans and credit packs - starts 11/26

Adobe ➔
50% off all apps and plans through 11/29

aescripts ➔
25% off everything through 12/6
Affinity ➔
50% off all products

Battleaxe ➔
30% off from 11/29-12/7
Boom Library ➔
30% off Boom One, their 48,000+ file audio library
BorisFX ➔
25% off everything, 11/25-12/1

Cavalry ➔
33% off pro subscriptions (11/29 - 12/4)

FXFactory ➔
25% off with code BLACKFRIDAY until 12/3

Goodboyninja ➔
20% off everything

Happy Editing ➔
50% off with code BLACKFRIDAY

Huion ➔
Up to 50% off affordable, high-quality pen display tablets

Insydium ➔
50% off through 12/4
JangaFX ➔
30% off an indie annual license
Kitbash 3D ➔
$200 off Cargo Pro, their entire library
Knights of the Editing Table ➔
Up to 20% off Premiere Pro Extensions
Maxon ➔
25% off Maxon One, ZBrush, & Redshift - Annual Subscriptions (11/29 - 12/8)
Mode Designs ➔
Deals on premium keyboards and accessories
Motion Array ➔
10% off the Everything plan
Motion Hatch ➔
Perfect Your Pricing Toolkit - 50% off (11/29 - 12/2)

MotionVFX ➔
30% off Design/CineStudio, and PPro Resolve packs with code: BW30

Rocket Lasso ➔
50% off all plug-ins (11/29 - 12/2)

Rokoko ➔
45% off the indie creator bundle with code: RKK_SchoolOfMotion (revenue must be under $100K a year)

Shapefest ➔
80% off a Shapefest Pro annual subscription for life (11/29 - 12/2)

The Pixel Lab ➔
30% off everything
Toolfarm ➔
Various plugins and tools on sale

True Grit Texture ➔
50-70% off (starts Wednesday, runs for about a week)

Vincent Schwenk ➔
50% discount with code RENDERSALE

Wacom ➔
Up to $120 off new tablets + deals on refurbished items


Dive into the project and break it apart.
Importing Into C4D

Once you have your frame-by-frame animation done, you can go ahead and build out your scene in Cinema 4D (or your DCI of choice). A good amount of this is already done for you because you’ll have your C4D file exported from After Effects, which will create some nulls and shapes that you can quickly match to your main animation.
Once in Cinema 4D, all of your animations and reference nulls will match the timing that you already animated your frame-by-frame sequence to. The main that you’ll want to make sure you do while in your DCI is set-up the best path forward for your compositing in the next step.
This means setting up things like masks or cryptomattes, and just getting your different render passes set up correctly overall. This will be different in each piece of software, but it’s very important to make sure you render your animation with everything you’ll need to make things look great later on.
Compositing In After Effects

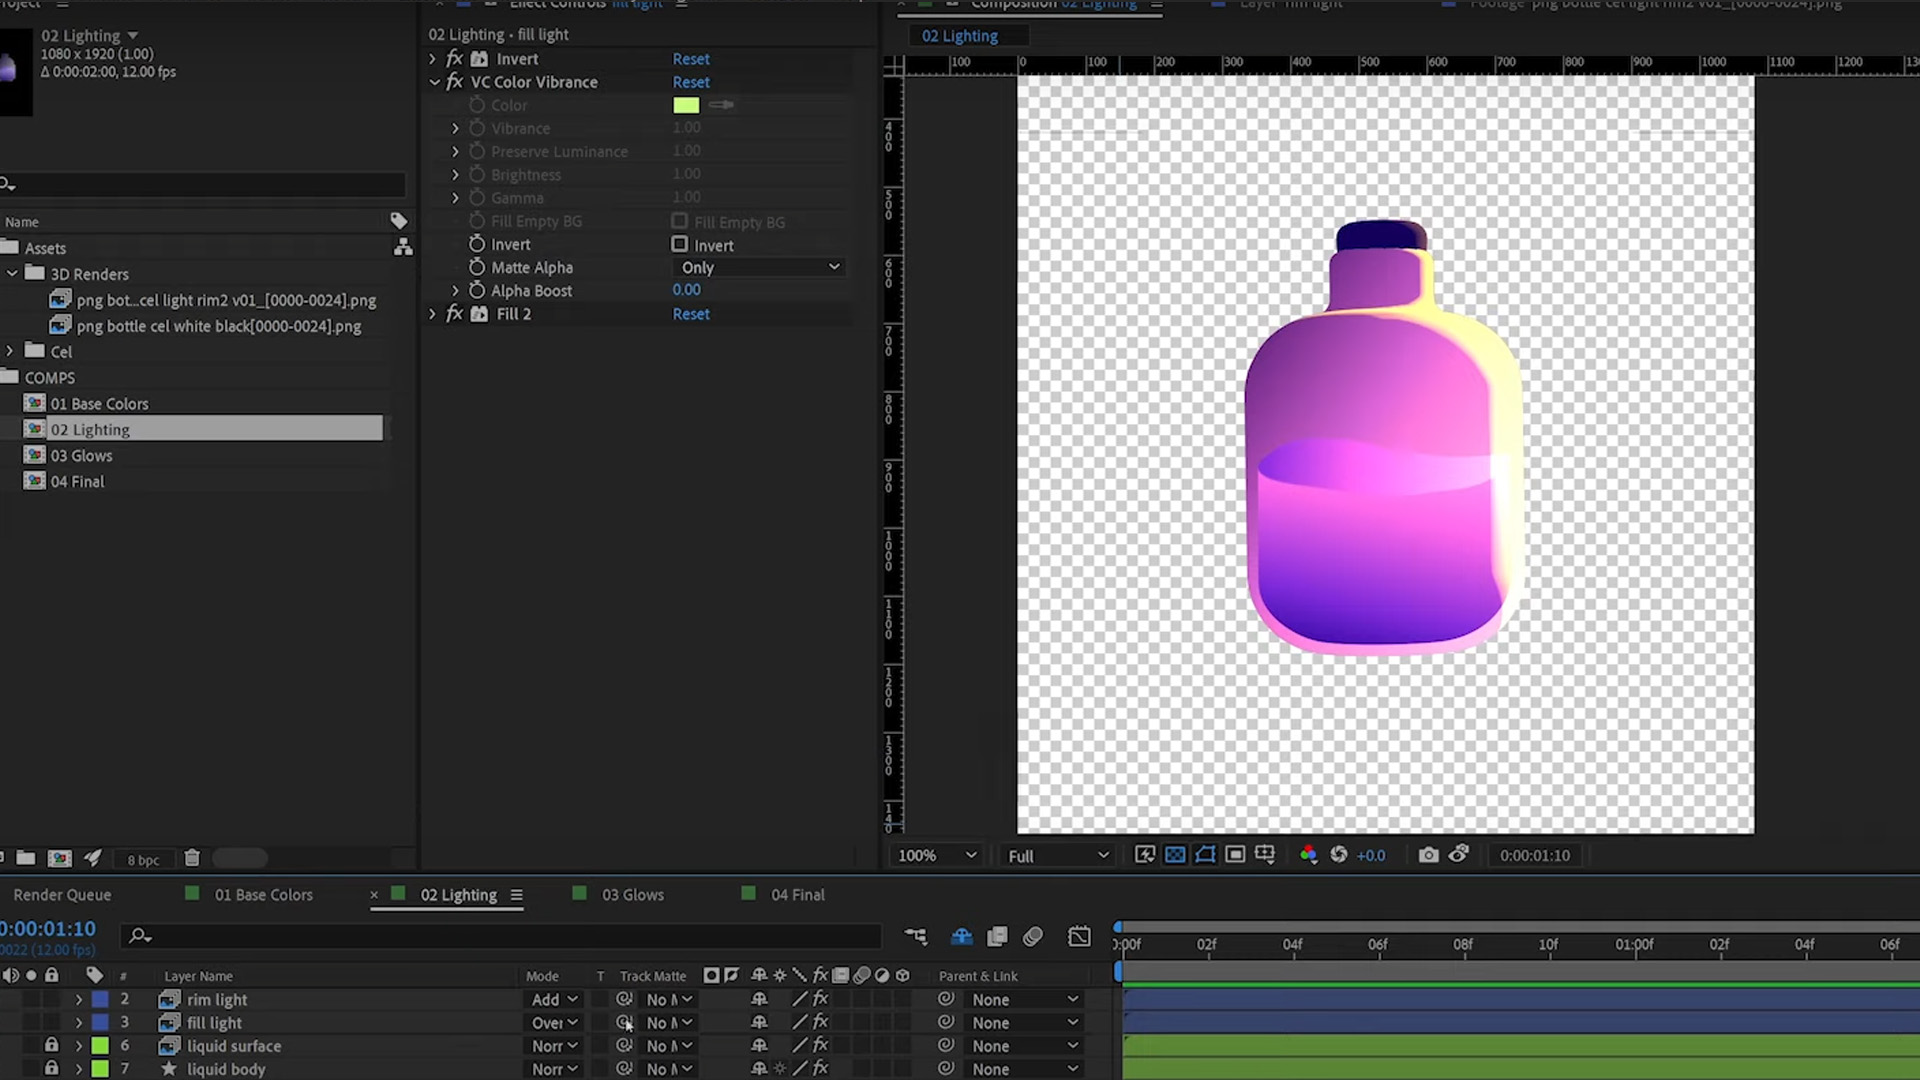
In my opinion, this part is always the most fun. It’s when your vision can truly come together, and if you’ve set everything up correctly, you’ll have all the options and avenues you’d ever want to get the right look. Using your various render passes, you can use After Effects to really dial everything in and add the full vibe and color your were initially going for.
The idea here is to have everything set up in such a way that you can make the majority of your creative decisions at this phase, things like colors, lighting, and even some timing can be figured out at this phase. Using your various render passes, you should be able to tweak things in a number of different ways. In this example, they use the various alpha channels and passes to dial in specific glows and colors on each different part of the render. This is definitely the right way to approach the compositing phase of your render, making sure that you have all the options you’d want at the very end. It makes it so easy to iterate and customize and get the exact feeling you were going for.
Master After Effects and Cinema 4D
School of Motion is home to the best training for design and animation. Our guided courses for beginner and intermediate artists will help you learn the fundamentals of great work using the most in-demand tools like After Effects and Cinema 4D. Check out our courses page to get started on your educational journey.


