Enhance your expression knowledge with a close look at the Light, Camera, and Text Expression Language menus
The Expression Language Menu holds a lot of little pieces for you to assemble. Where do you even start?! This series will walk you through each category and highlight a few unexpected items in each, leaving you better equipped to start expressing yourself via expressions.
In Part 2 of our series, we're diving into some of the newer—or ignored—menus. Today, we're going to be looking at:
- Light
- Camera
- and Text
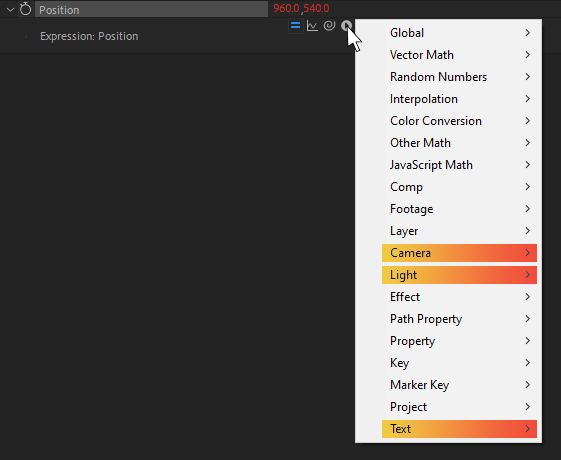
Check Out the Full Series!
Can't express yourself enough? Check out the rest of the series:
Part 1 - Property and Effects, Layer, Key, Marker Key
Part 3 - Javascript Math, Random Numbers, Path Properties
Part 4 - Global, Comp, Footage, Project
Part 5 - Interpolation, Vector Math, Color Conversion, Other Math
Light
While I'm sure somebody out there is using 3D Lights in After Effects, they're not very common! So the chance of someone using lights and expressions is pretty slim. We came up with a few creative uses of these properties, though they're definitely not everyday tasks and are a little contrived.
We'll explore:
- Getting a light's intensity
- Matching a glow amount to a flickering light
- Getting a light's color
- Matching shape layers to lights
- For more information, see the Docs for Adobe expression reference or Adobe’s Expression language reference
I have a good feeling that learning about the Light category will be just as illuminating for you as it was for me, so let's go!
MAKING LIGHTS FLICKER
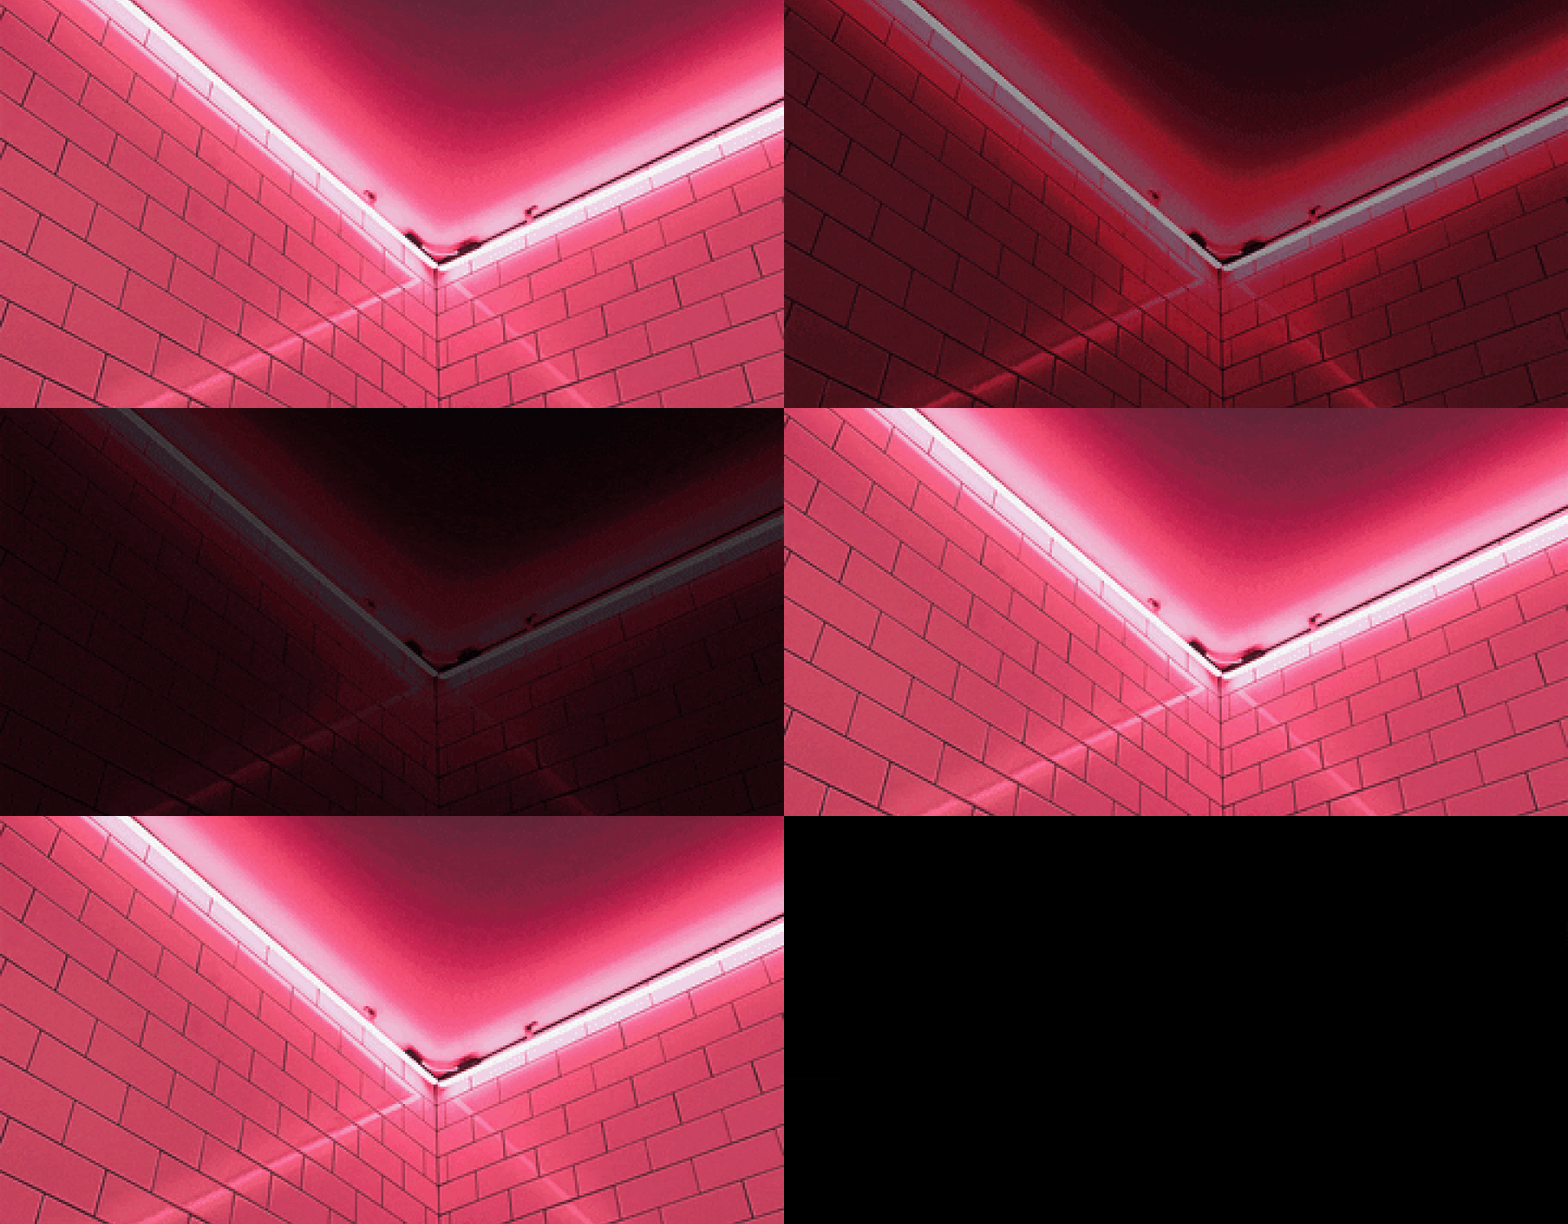
We can use the intensity property to... see how intense the light is!
Let's say you've set up a flickering light, and you want a layer to glow more based on how intense the light is. We can do that!
On our glow effect's intensity, we can use this expression:
const lightIntensity = thisComp.layer("Light").intensity;
const multiplier = 1.5;
lightIntensity * multiplier;
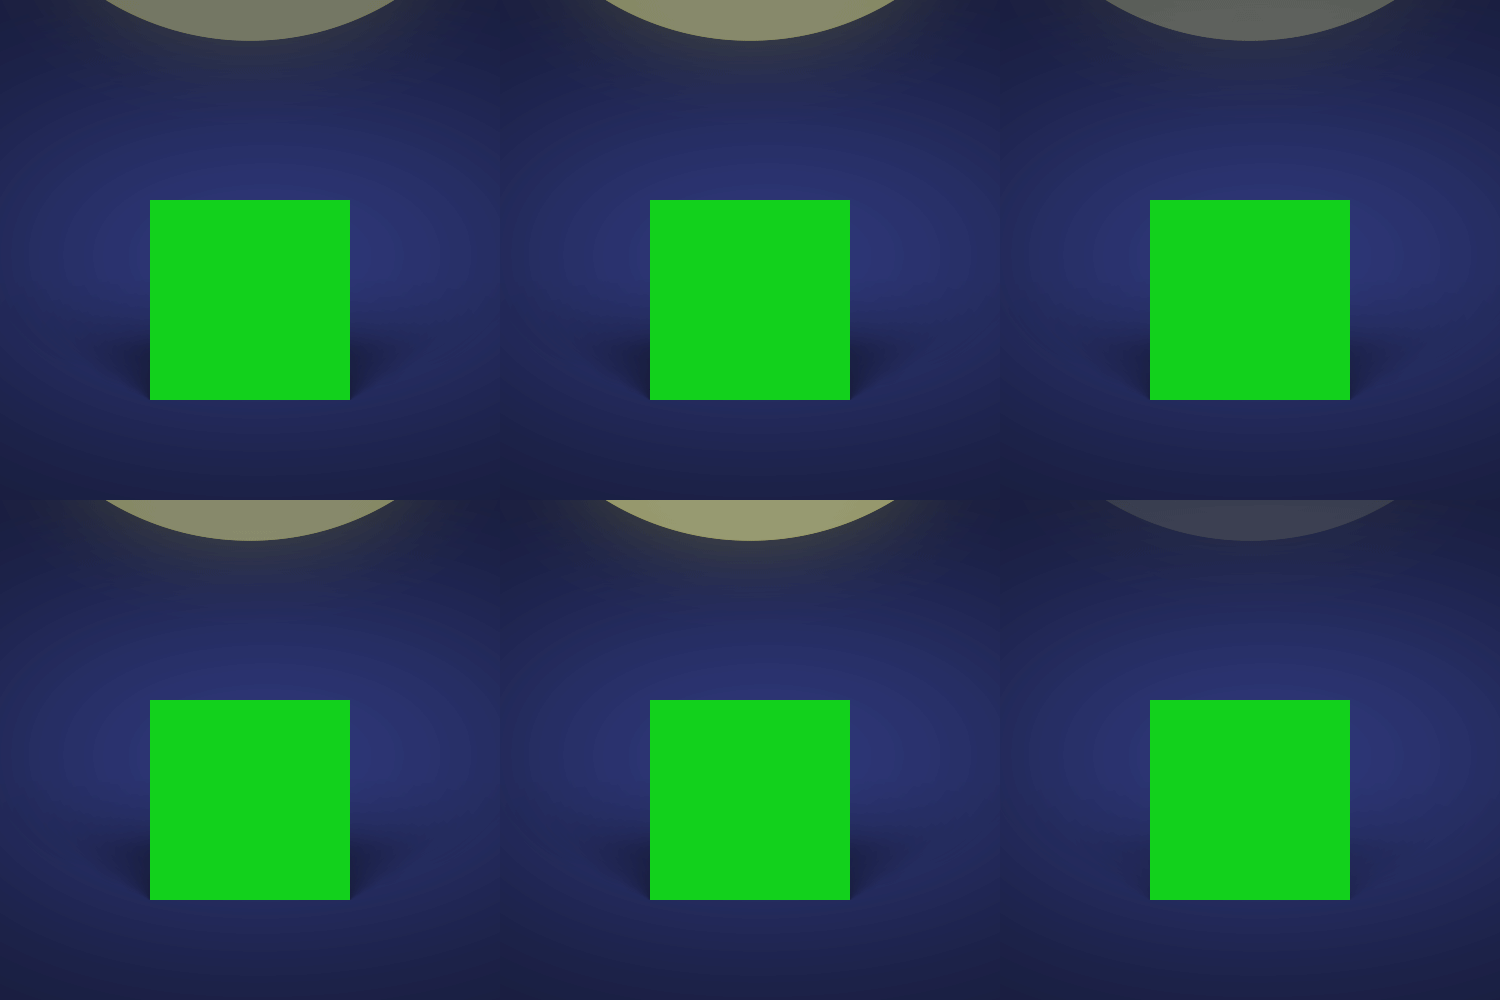
Now, for every 1% of intensity, the glow will get 1.5x brighter!
MATCHING AE COLORS TO LIGHT COLORS
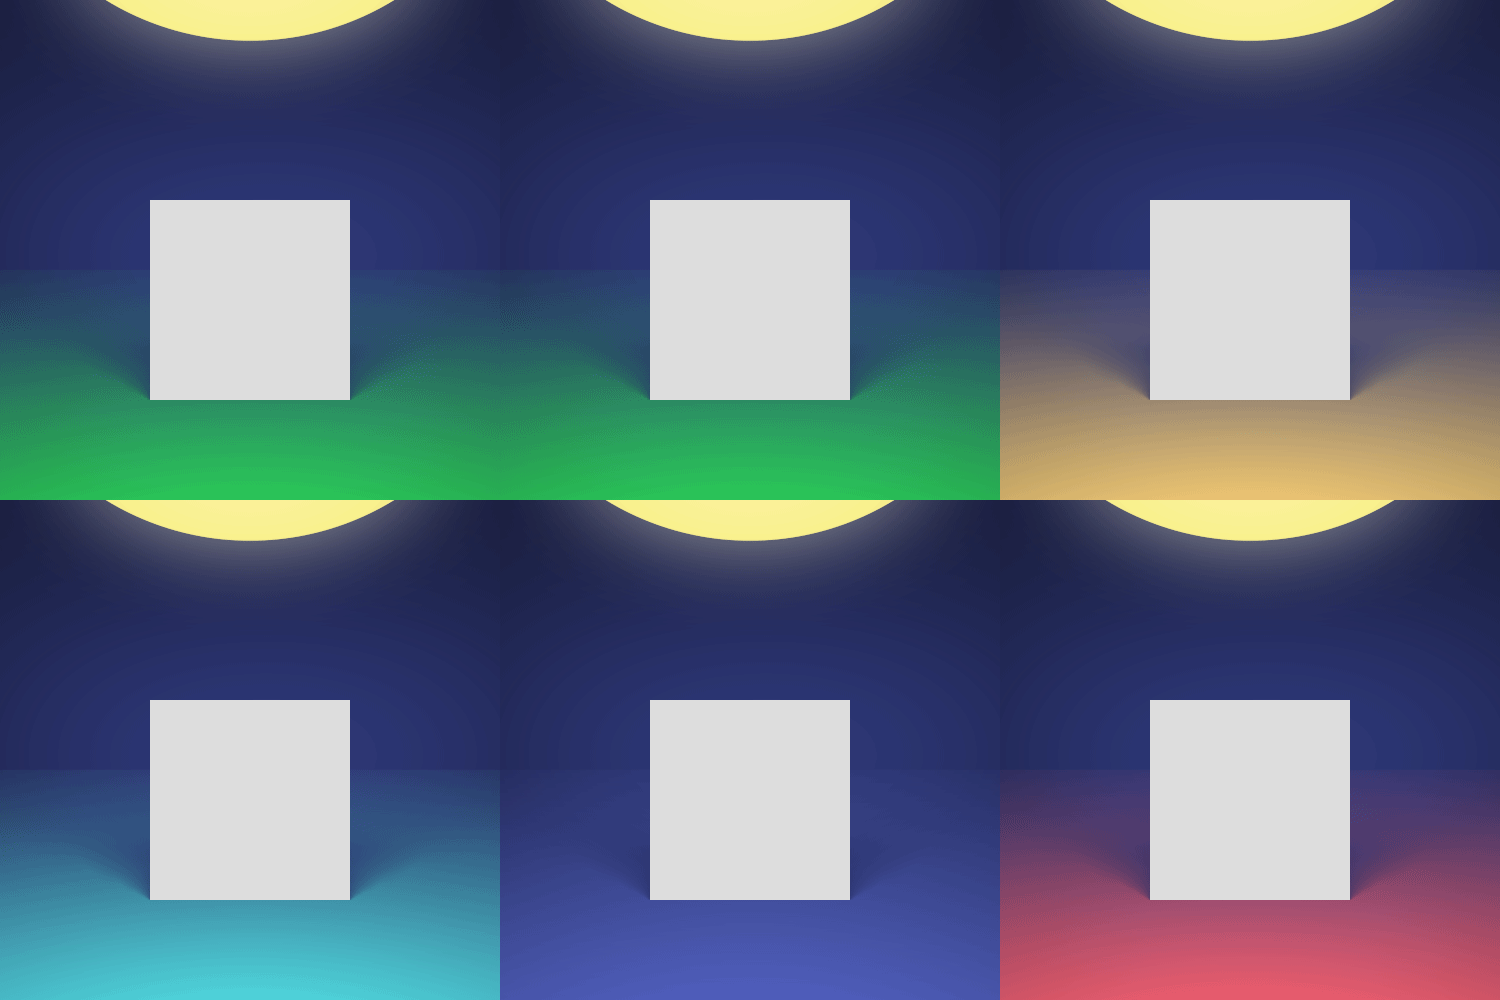
Looking at our scene, we have a light with a specific color casting onto our scene, coloring the ground plane.
In this case, though, the sun doesn't match the light color...so this looks a little weird.
To fix this, we don't need any fancy tricks; we'll just pickwhip from the shape layer fill color to the light color, and get this expression that leverages the light’s color property:
thisComp.layer("Light").color;
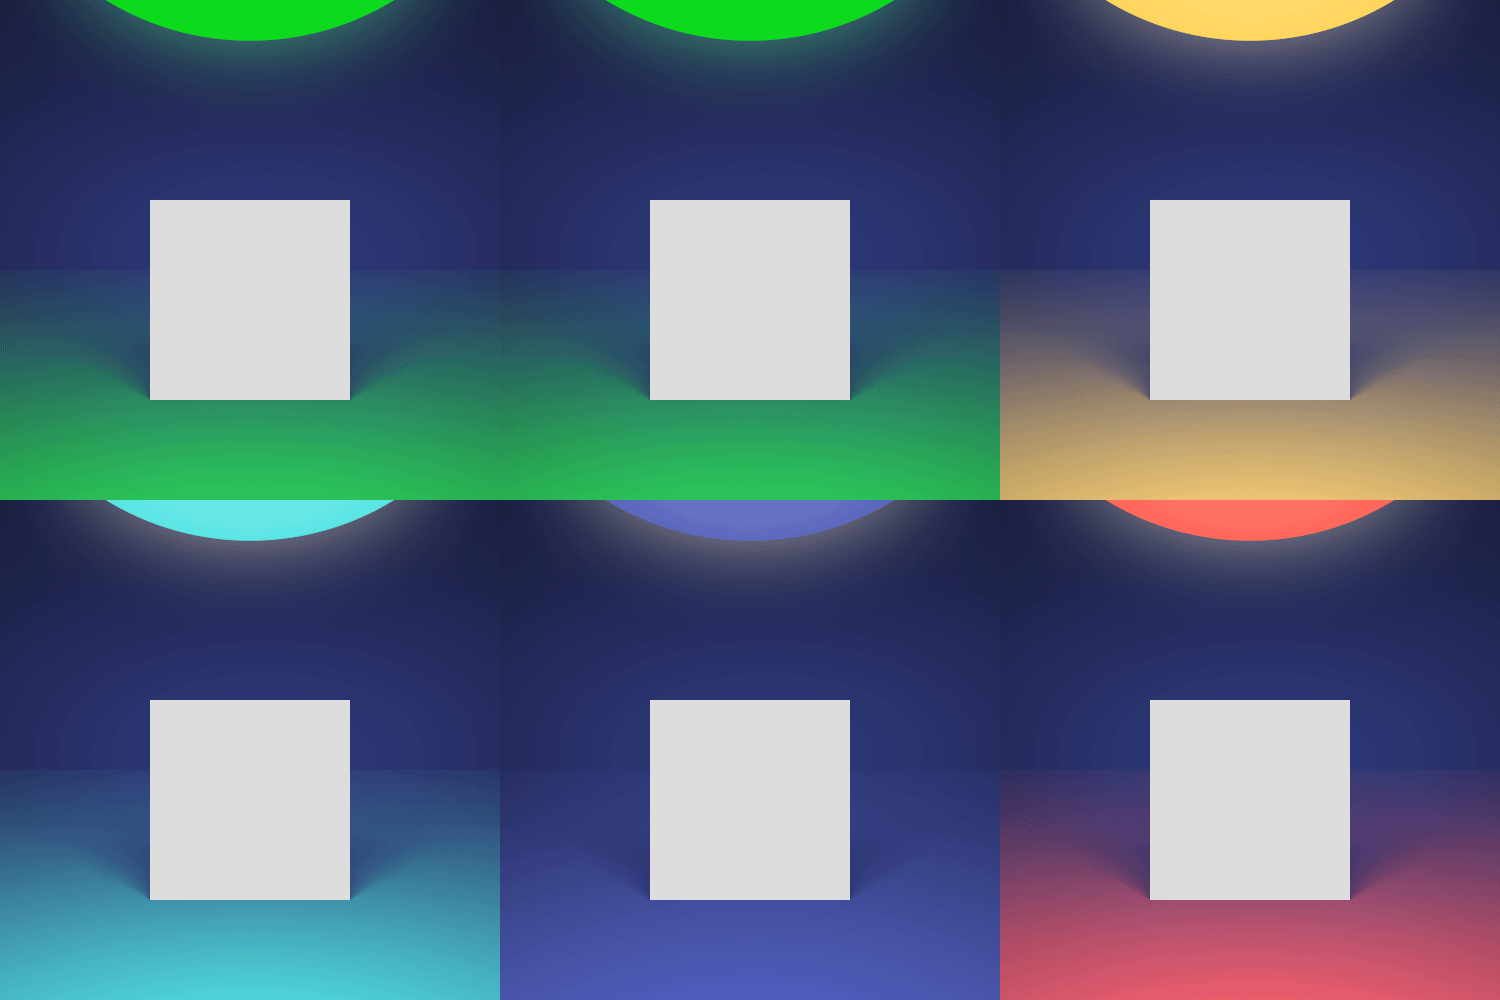
Now as we change the light's color, the sun color will change too!
Turning Out the Lights
Hopefully this small glimpse into the world of Light expression category has set off some cartoon lightbulbs above your head.
Camera
3D cameras in AE are a topic of much contention and argument, but nobody can deny that—just like with peanut butter—everything is made better with expressions.
To that end, here are some neat tricks that use expressions with Camera properties to great effect.
We'll look at:
- Preserving layer scale during camera zooms
- Ensuring your hero layer is always in focus
Without further ado: Lights! Action! Camera! ...or something.
HOW TO MAINTAIN LAYER SCALE DURING 3D CAMERA ZOOMS
It's a little weird to think about, but you can use the zoom value of a camera layer to control the scale of other layers—so no matter how much you zoom in or out, they'll appear the same size on screen!
Consider: the more you zoom in on something, the bigger it appears. But sometimes you don't want it to scale up. Maybe you want it to stay a fixed size. For example, having 2D labels attach to your objects that still respect the 3D environment of your comp.
const camera = thisComp.activeCamera;
const distance = length(sub(position, camera.position));
const scaleFactor = distance / camera.zoom;
value * scaleFactor;

By applying this to our layer scales, we can still tweak the individual scale of each layer but have it ignore the camera zoom altogether.
KEEPING 3D LAYERS IN FOCUS WITH 3D DEPTH OF FIELD
If you find yourself using 3D cameras in AE, there's an old trick to make sure that your camera's target is always in focus.
You can apply this expression to the Focus Distance property. It will look at the distance between the camera itself and its Point Of Interest, and use that distance as the focus distance. No matter how near or far they are, your interested layer is always sharp.
const cameraPosition = thisLayer.position;
const cameraPOI = thisLayer.pointOfInterest;
length(cameraPosition, cameraPOI);

aaaand cut!
These two tips can make working with Cameras in AE a little bit more accessible. As we all know, every little bit of speed and easiness adds up when on the clock.
Text
Text plays a HUGE role in AE animation, so of course we can work with so much of it via expressions too!
The most useful commands here are only available as of AE 17.0 (released in January 2020), but they're great and well worth the update:
This article will take a look at:
- Getting installed font names
- Setting text layer fonts via expressions
- Cloning font styles from another layer
- For more information, see Adobe’s Expression language reference
Without further ado let's stop reading Text and start expressing it.
SETTING FONT BY EXPRESSIONS
Within the main Text menu is the most unique button in alllll of Expressionland: a menu item that... doesn't give you any code! Instead, it lets you select a typeface (and weight), and it'll give you the internal name of it.
On its own, maybe not the most useful! But when paired with setFont(), you can actually change the font of your text layer itself right from an expression!
Here's this in use, on the Source Text property. Note that I selected 'Roboto Mono' and 'Medium' in the Font... menu:
const font = "RobotoMono-Medium";
const style = text.sourceText.createStyle();
style.setFont(font);

COPYING TEXT LAYER STYLING
We can use the text style property to get all of the font styling info from a text layer!
You can use this to get things such as the font, fill color, leading, font size, and so on from another layer— that's right, you can style one layer, and have it control the look of another layer.
This example will look at our layer 'Main Text' and inherit all formats of its style, just like that.
const otherLayer = thisComp.layer("Main Text");
const otherStyle = otherLayer.text.sourceText.style;
otherStyle;
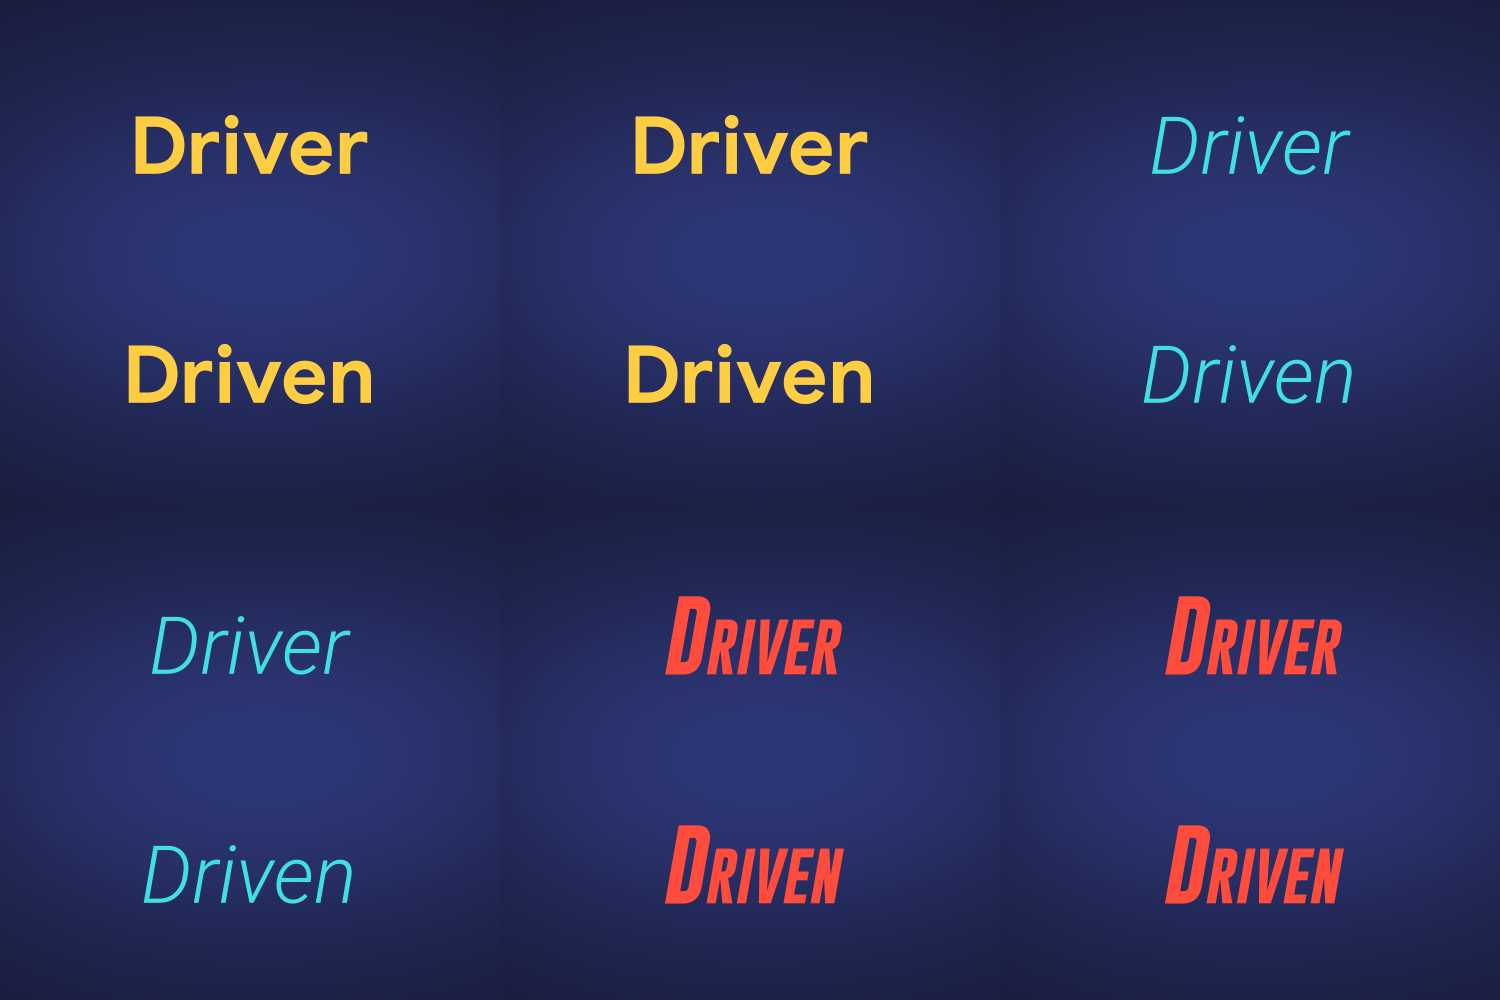
Now, on the surface this is pretty straightforward, but I use this simple technique a ton with toolkit projects. The users can adjust the text style and formatting in one place, and have it propagate to every text layer in the rest of the project.
Still Tracking?
This category is a newer addition to the expression repertoire, and so uses and features are actively being explored!
Some of the other items here let you get (and set) other font features such as tracking, leading, kerning, font size, font fill and stroke colors, and so on. There's a lot more to explore, now that you've had a taste!
Expression Session
If you're ready to dive into some radioactive goop and gain a new superpower, don't do that! It sounds dangerous. Instead, check out Expression Session!
Expression Session will teach you how to approach, write and implement expressions in After Effects. Over the course of 12 weeks, you'll go from rookie to seasoned coder.
ENROLL NOW!
Acidbite ➔
50% off everything

ActionVFX ➔
30% off all plans and credit packs - starts 11/26

Adobe ➔
50% off all apps and plans through 11/29

aescripts ➔
25% off everything through 12/6
Affinity ➔
50% off all products

Battleaxe ➔
30% off from 11/29-12/7
Boom Library ➔
30% off Boom One, their 48,000+ file audio library
BorisFX ➔
25% off everything, 11/25-12/1

Cavalry ➔
33% off pro subscriptions (11/29 - 12/4)

FXFactory ➔
25% off with code BLACKFRIDAY until 12/3

Goodboyninja ➔
20% off everything

Happy Editing ➔
50% off with code BLACKFRIDAY

Huion ➔
Up to 50% off affordable, high-quality pen display tablets

Insydium ➔
50% off through 12/4
JangaFX ➔
30% off an indie annual license
Kitbash 3D ➔
$200 off Cargo Pro, their entire library
Knights of the Editing Table ➔
Up to 20% off Premiere Pro Extensions
Maxon ➔
25% off Maxon One, ZBrush, & Redshift - Annual Subscriptions (11/29 - 12/8)
Mode Designs ➔
Deals on premium keyboards and accessories
Motion Array ➔
10% off the Everything plan
Motion Hatch ➔
Perfect Your Pricing Toolkit - 50% off (11/29 - 12/2)

MotionVFX ➔
30% off Design/CineStudio, and PPro Resolve packs with code: BW30

Rocket Lasso ➔
50% off all plug-ins (11/29 - 12/2)

Rokoko ➔
45% off the indie creator bundle with code: RKK_SchoolOfMotion (revenue must be under $100K a year)

Shapefest ➔
80% off a Shapefest Pro annual subscription for life (11/29 - 12/2)

The Pixel Lab ➔
30% off everything
Toolfarm ➔
Various plugins and tools on sale

True Grit Texture ➔
50-70% off (starts Wednesday, runs for about a week)

Vincent Schwenk ➔
50% discount with code RENDERSALE

Wacom ➔
Up to $120 off new tablets + deals on refurbished items


