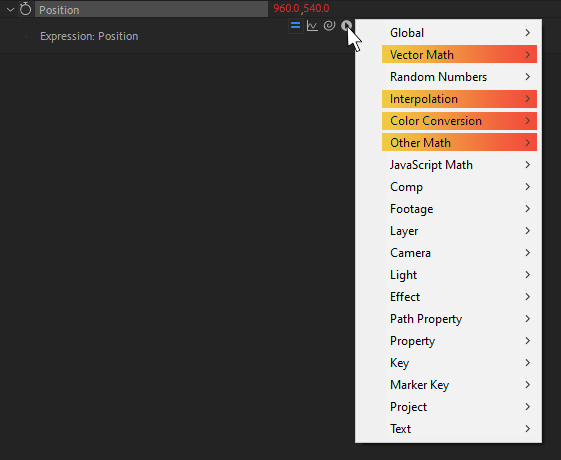
Enhance your expression knowledge with Interpolation, Vector Math, Color Conversion, and Other Math Expression Language menus.
The Expression Language Menu holds a lot of little pieces for you to assemble. Where do you even start?! This series will walk you through each category and highlight a few unexpected items in each, leaving you better equipped to start expressing yourself via expressions.

In the final article of this series, we're wrapping things up with a look at:
- Interpolation
- Vector Math
- Color Conversion
- Other Math
Check Out the Full Series!
Can't express yourself enough? Check out the rest of the series:
Part 1 - Property and Effects, Layer, Key, Marker Key
Part 3 - Javascript Math, Random Numbers, Path Properties
Part 4 - Global, Comp, Footage, Project
Interpolation

Generally in AE land, "interpolation" is just a fancy word for what goes on between keyframes— you set two keyframes, adjust your easing, and AE will interpolate between those values, generating all of the middle animation for you.
We can do this in expressions too! We can give AE a start and end value, control how far between them to calculate the value, and it'll give us that result. That's what the Interpolation category is all about.
Let's put it to use by taking a look at:
- How to think about the way AE interpolates between keyframes
- How to approach this same task via expressions
- Using the linear() function to animate instead of keyframes
- Exploring other interpolation functions
- For more information, see the Docs for Adobe expression reference or Adobe’s Expression language reference
Don't hesitate, let's Interpolate!
UNDERSTANDING KEYFRAMES

So right here we've got two keyframes. At 1 second, opacity is 20%. At 2 seconds, it's 100%.

We can translate this into plain English by saying,
"as time moves from 1 to 2 seconds, animate opacity from 20 to 100 percent"
All animation in AE can be described this way, and it helps us understand this section of expressions!
TRANSLATING KEYFRAMES TO EXPRESSIONS

We can express (see what I did there?) this exact same idea in an expression using a function called linear().
This function will act like our little animation factory, letting us define the controller (time), and the result (opacity). Or, in C4D terms, we can use it to set a driver and driven values.
We'd translate the exact same animation like this:
const driver = time;
const timeStart = 1;
const timeEnd = 2;
const opacityMin = 20;
const opacityMax = 100;
linear(driver, timeStart, timeEnd, opacityMin, opacityMax);
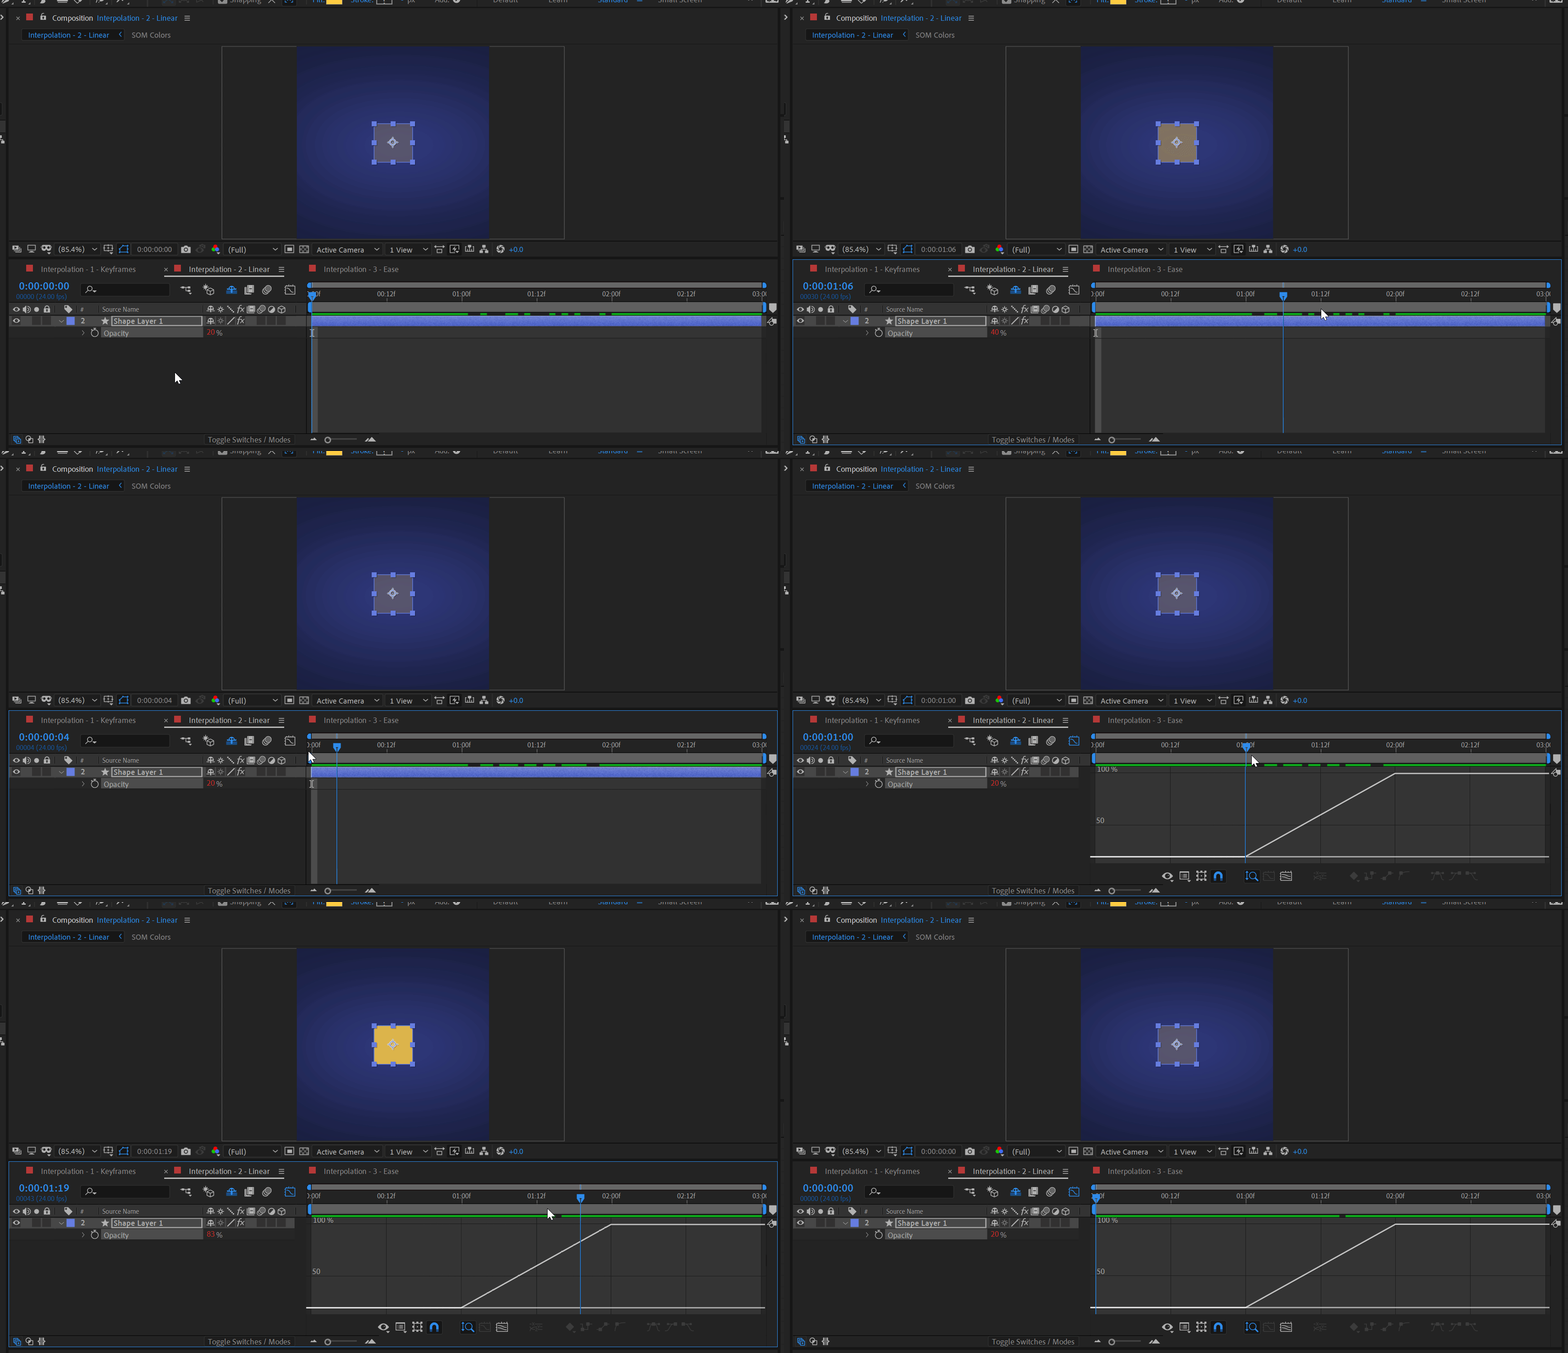
You can see we've broken up all the options into variables for readability. This expression works the exact same way as the keyframes above, but without the keyframes!
As the driver, time, goes from 1 to 2, output from 20 to 100.
Because it's all an expression, you can quickly change the animation start or end times, or the start and end values — maybe even hook them up to a slider or other layers.
This sort of flexibility only comes with expressions, as you can't dynamically tweak your keyframes in this way.
EASING EXPRESSION-DRIVEN ANIMATION
As the name suggests, the expression above will be a linear interpolation. That is, if you were to look at it in the graph editor, there'd be no easing at all! Just a direct mapping of time to opacity.
If we wanted this to be easy eased, we can replace linear() with ease() and have it smooth that animation out.
const driver = time;
const timeStart = 1;
const timeEnd = 2;
const opacityMin = 20;
const opacityMax = 100;
ease(driver, timeStart, timeEnd, opacityMin, opacityMax);
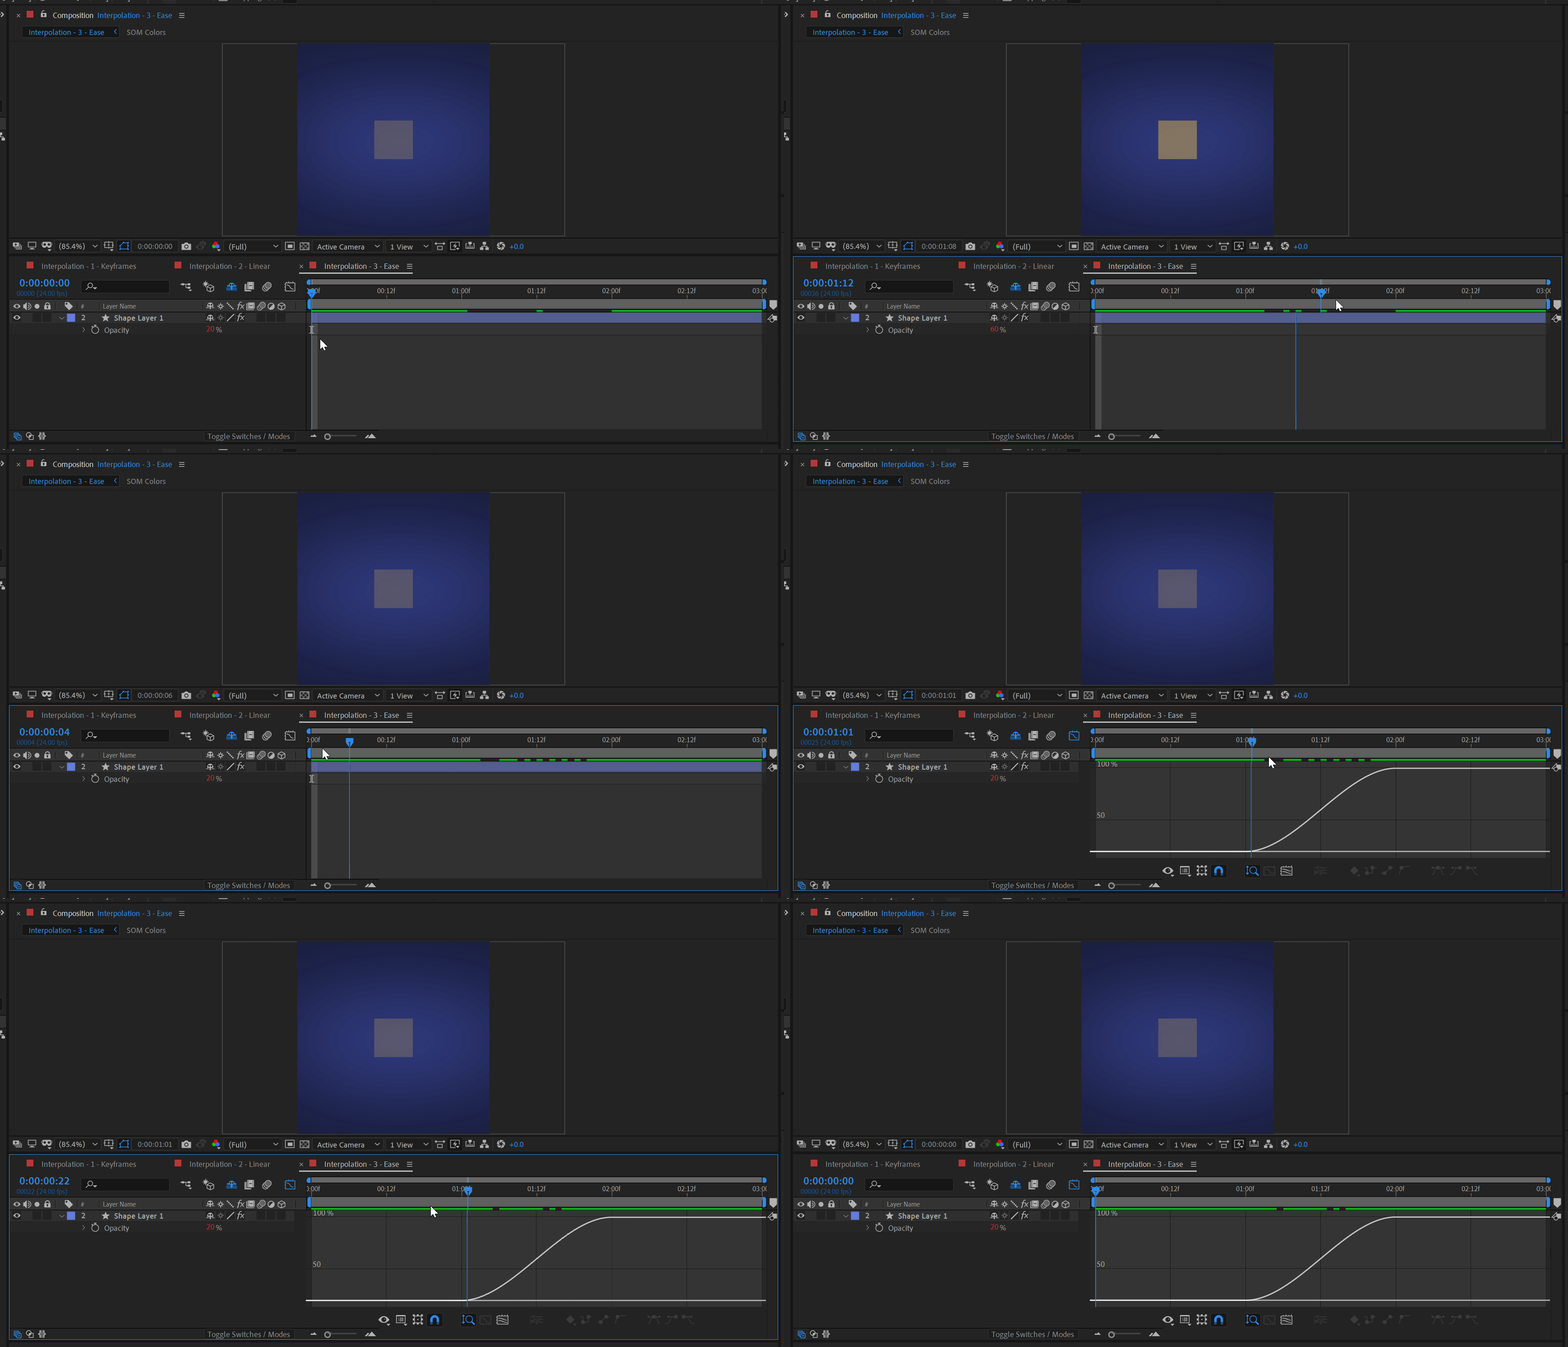
And if you were looking for even more control over the easing, Flow has an Expressions mode, which gives you custom functions to use any of your curves in the exact same way as linear() and ease(). Custom curves IN YOUR EXPRESSIONS?! Say no more.
Go linear and far!
We've looked at how to create our own keyframes by expression, which is a pretty cool, controllable technique. Want to take this further? Try hooking up some of these values to sliders, and animating them while the animation plays. Very, very cool results to be had here.
Vector Math

The Vector Math category sounds reaaaally intimidating, but all of it basically just deals with the relationships between things.
Now I know that explaining geometrical mathematical vectors feels like going through brain surgery without the anesthetic, so let's talk about a few of these functions in terms of something a little more... domesticated.
This article will take a look at:
- Limiting movement to specific areas
- Automatically orienting layers to other layers
- Triggering actions based on how close together layers are
- For more information, see the Docs for Adobe expression reference or Adobe’s Expression language reference
Let's dive in and inspect the Vector Math.
LIMITING WIGGLED ANIMATION
Clamp is a really easy way to set some limits on something. Let's say you've got a brand new pupper running all over your apartment. Well, you probably want to put in a couple barriers to only let it roam between here and there, right? Clamp is just like that... but for numbers.
In AE land, let's say we've got a little goldfish in a fishtank, and it's animating around on its own.

The problem here is that it's going outside of the tank! Well, clamp is here to set a limit on the minimum and maximum values of X.
const wiggled = wiggle(.5, 100);
clamp(wiggled, -500, 500);

And now you can see it's staying in the bowl! (We've also added the matte, just to really sell it.)
ROTATING TO WATCH ANOTHER LAYER

You know how your cat follows the laser pointer dot around? We can do that with expressions!
We'll use lookAt(), which takes two positions and gives you the angle between them.
With this expression applied to rotation, our cat layer will always follow the laser layer as it moves around:
const otherLayer = thisComp.layer("Laser Dot");
lookAt(otherLayer.position, thisLayer.position)[1]

And now we've pretty much guaranteed our cat will be preoccupied and stay off our keyboards forever.
CONTROLLING ANIMATION BASED ON LAYER DISTANCES

With that cat roaming around and a fish helpless nearby, we'd better set up an alert system to tell us if the cat gets close.
Thankfully, the length() function was made for this! You give it two positions, and it'll tell you the distance between them.
Let's say we wanted to have our alert light get brighter as the cat gets closer to the tank. Easy peasy! We first take the distance between our current layer and another, and feed that into linear() to output opacity values from 0 → 100:
const catLayer = thisComp.layer("Cat");
const fishLayer = thisComp.layer("Fish");
const distance = length(catLayer.position, fishLayer.position);
const alertFar = 250;
const alertNear = 100;
linear(distance, alertFar, alertNear, 100, 0);

With our light all worked up, our days of surprise sushi are no more.
Escaping the Vector Plane
We've looked at a few practical uses of Vector Math inside of AE. These few examples should make at least some things a little less scary!
Color Conversion
Ah, colors. We love 'em. It'd be a much more monochromatic world if not for colors, you know?
It ought to come as no surprise that we can adjust colours via expressions! This whole category deals with converting to and from color different formats, which sounds a little spookier than it really is.
We'll look at:
- Changing from RGB to HSL so we can tweak light intensities
- Generating infinite random variations on a color
- Using a layer's name to determine its fill color
- Converting from hex values into usable colors in AE
- For more information, see the Docs for Adobe expression reference or Adobe’s Expression language reference
So pick up your marker and start to Color... convert. Convert colors. Right. Yes. That.
CREATING RANDOM COLOR VARIATIONS
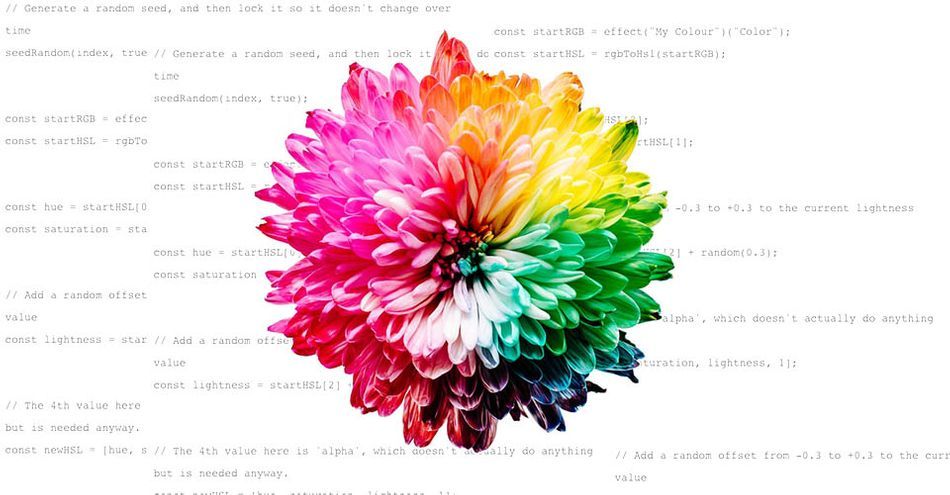
The first thing we'll do is generate some random brightness variation on a defined color.
To do this, we'll need to take our specified color picker (which comes in as RGB), break it apart into hue / saturation / lightness, then add some randomization to the lightness value.
Once we've got that new value, we'll convert it back to RGB so that our color picker can use it! We're going to use rgbToHsl() and hslToRgb() to accomplish this, on a shape layer's Fill Color property.
// Generate a random seed, and then lock it so it doesn't change over time
seedRandom(index, true);
const startRGB = effect("My Color")("Color");
const startHSL = rgbToHsl(startRGB);
const hue = startHSL[0];
const saturation = startHSL[1];
// Add a random offset from -0.3 to +0.3 to the current lightness value
const lightness = startHSL[2] + random(0.3);
// The 4th value here is 'alpha', which doesn't actually do anything but is needed anyway.
const newHSL = [hue, saturation, lightness, 1];
// Take our new HSL values, and turn them back into RGB
hslToRgb(newHSL);
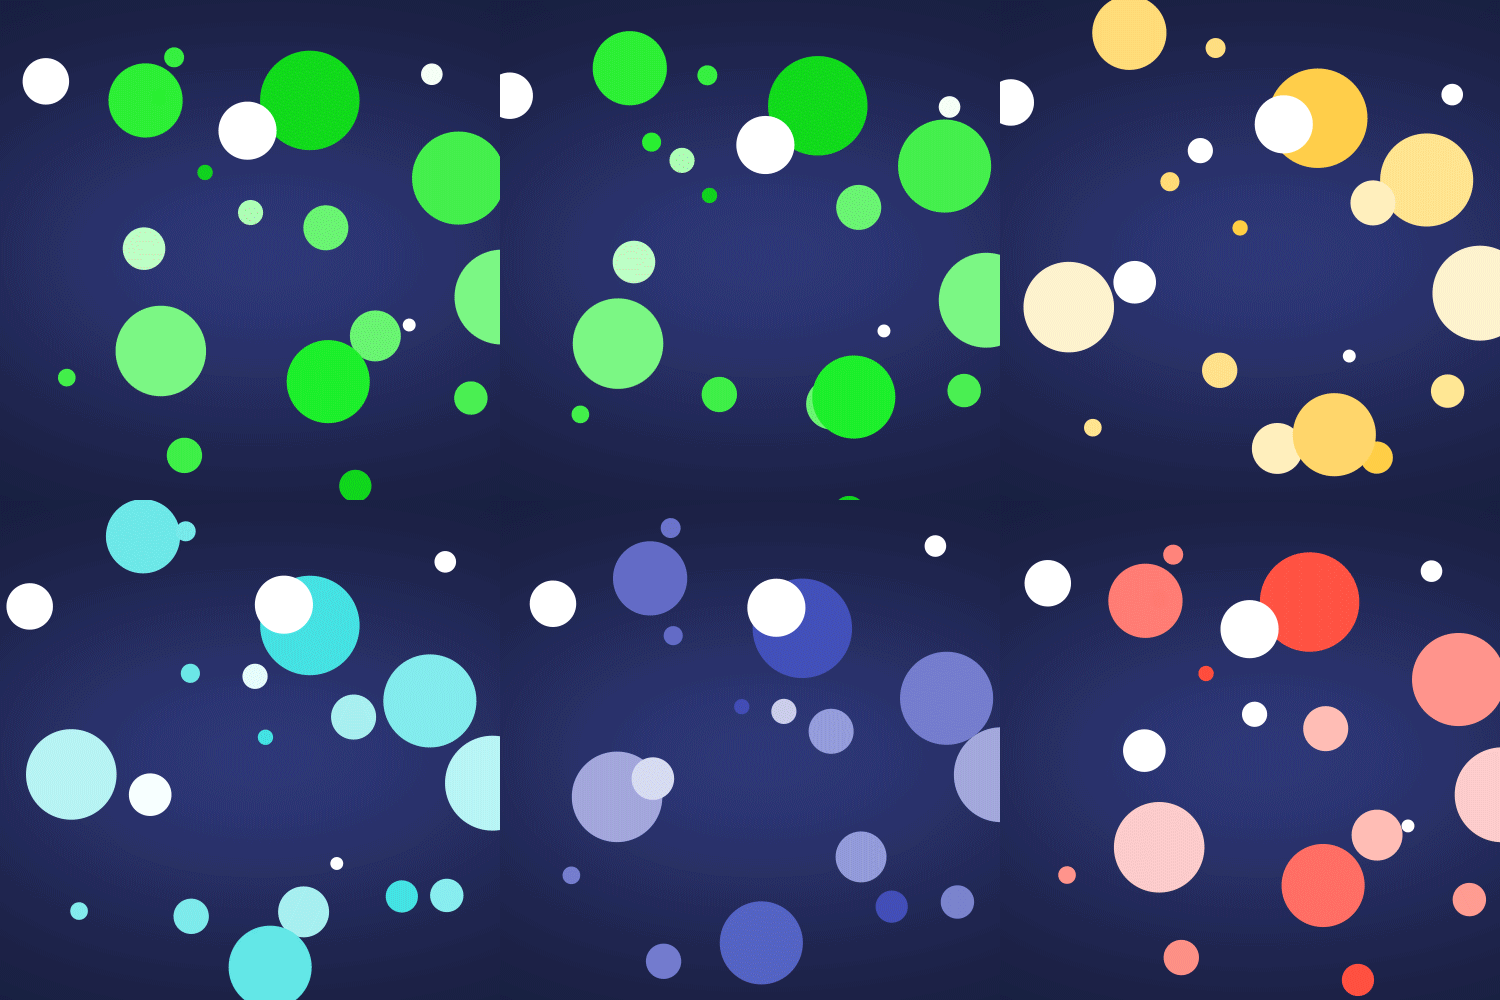
Now we can put this expression on any of our shapes, and they'll each get a uniquely shifted lightness value, and still follow the main control color.
COLORING LAYERS USING LAYER NAMES
So that was neat for manipulating existing colors, but let's look at another example: converting a hex code ("#FF0000") to something we can actually use in AE (the RGB color red).
Just to mix things up, we're going to use a little trickery so that we can just name our layer the color we want, and have it update the fill color by adding this expression to the shape layer fill:
const layerNameColor = thisLayer.name;
hexToRgb(layerNameColor);
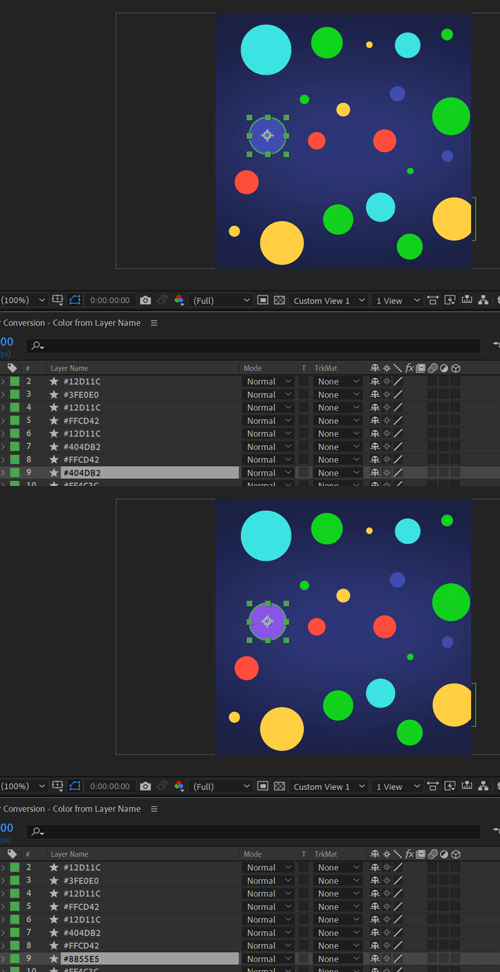
Now when we name our layer "#FF0000", the color will be red! Or "#8855E5" for a beautiful purple.
Making Colors more Palette-able
Colors can be a little funky to work with, though having a good understanding of the Color Conversion menu can certainly make your life easier when dealing with them in expressions.
Other Math
In this article, we’re going to explore the Other Math section of the Expression Language Menu. This section is all about looking at things with the right angle! ...well, it’s more about working with angles in expressions, but that’s close enough!
We’ll look at:
- Degrees vs radians
- Converting between the two
- A practical use of the built-in conversion functions
- For more information, see the Docs for Adobe site or Adobe’s Expression language reference
Let’s see what Other Math has in store.
CONVERTING DEGREES TO RADIANS
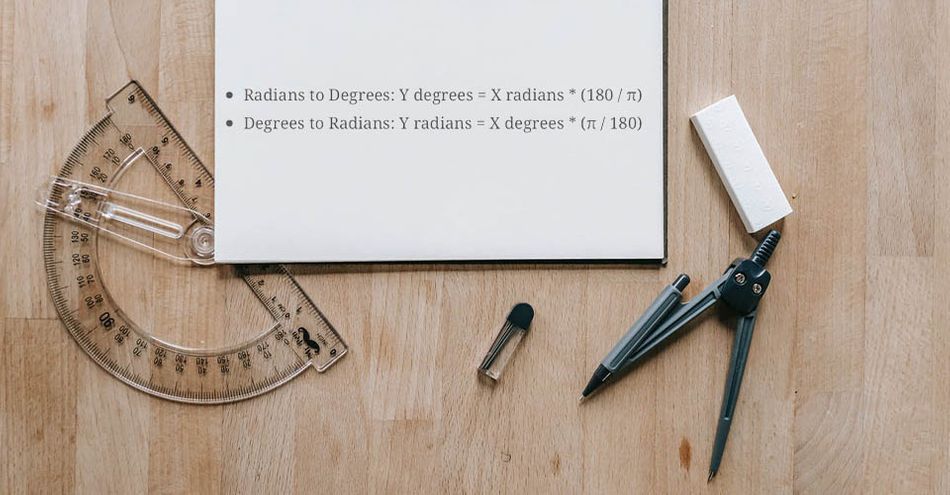
When you think about angles, you usually think in degrees— for example, you probably remember from grade school that right angles are 90 degrees, right?
While degrees are great for human use, mathematically another system called “radians” is generally preferred. Think of it as little like a mathematical version of celsius vs fahrenheit.
Helpfully, we can convert these values by hand! There are well-known formulae to do this:
Radians to Degrees: Y degrees = X radians * (180 / π)
Degrees to Radians: Y radians = X degrees * (π / 180)
Now… I don’t know about you, but I’m never going to remember this. Thankfully, the Other Math category exists just to give us shortcuts to these exact things!
You won’t reach for them often, but when you need them you’ll be glad they’re there.
USING DEGREESTORADIANS()

The most common use for this section is using degreesToRadians() along with Math.cos() and Math.sin() in order to move things in a circle!
By applying an expression like this to a layer's position, you can have it move around in a circle around its position, controlling the angle of movement using an Angle Control:
const angleInDegrees = effect("Angle Control")("Angle");
const angleInRadians = degreesToRadians(angleInDegrees);
const radius = 200;
const x = Math.cos(angleInRadians) * radius;
const y = Math.sin(angleInRadians) * radius;
value + [x, y];
Of course, if you wanted to convert the other way around, you've got radiansToDegrees() as well.
Angles in the Outfield
As you can see, the Other Math menu is a pretty niche topic with some cool mathematical applications. It won't come up every day, but when it does you'll know just what to do.
And as Big Time Tommy says, take it ease.
Expression Session
If you're ready to dive into some radioactive goop and gain a new superpower, don't do that! It sounds dangerous. Instead, check out Expression Session!
ENROLL NOW!
Acidbite ➔
50% off everything

ActionVFX ➔
30% off all plans and credit packs - starts 11/26

Adobe ➔
50% off all apps and plans through 11/29

aescripts ➔
25% off everything through 12/6
Affinity ➔
50% off all products

Battleaxe ➔
30% off from 11/29-12/7
Boom Library ➔
30% off Boom One, their 48,000+ file audio library
BorisFX ➔
25% off everything, 11/25-12/1

Cavalry ➔
33% off pro subscriptions (11/29 - 12/4)

FXFactory ➔
25% off with code BLACKFRIDAY until 12/3

Goodboyninja ➔
20% off everything

Happy Editing ➔
50% off with code BLACKFRIDAY

Huion ➔
Up to 50% off affordable, high-quality pen display tablets

Insydium ➔
50% off through 12/4
JangaFX ➔
30% off an indie annual license
Kitbash 3D ➔
$200 off Cargo Pro, their entire library
Knights of the Editing Table ➔
Up to 20% off Premiere Pro Extensions
Maxon ➔
25% off Maxon One, ZBrush, & Redshift - Annual Subscriptions (11/29 - 12/8)
Mode Designs ➔
Deals on premium keyboards and accessories
Motion Array ➔
10% off the Everything plan
Motion Hatch ➔
Perfect Your Pricing Toolkit - 50% off (11/29 - 12/2)

MotionVFX ➔
30% off Design/CineStudio, and PPro Resolve packs with code: BW30

Rocket Lasso ➔
50% off all plug-ins (11/29 - 12/2)

Rokoko ➔
45% off the indie creator bundle with code: RKK_SchoolOfMotion (revenue must be under $100K a year)

Shapefest ➔
80% off a Shapefest Pro annual subscription for life (11/29 - 12/2)

The Pixel Lab ➔
30% off everything
Toolfarm ➔
Various plugins and tools on sale

True Grit Texture ➔
50-70% off (starts Wednesday, runs for about a week)

Vincent Schwenk ➔
50% discount with code RENDERSALE

Wacom ➔
Up to $120 off new tablets + deals on refurbished items


