Learn After Effects the Right Way
Master the After Effects interface and build a real animation skillset. Enroll in All-Access to unlock AE Kickstart and 50+ other courses.

An explanation of when to use Motion Blur.
You just finished your animation masterpiece… but something is missing. Oh! You forgot to check on the motion blur! There we go... Perfect.
Now on to the next project... right?
A lot of designers don't like using Motion Blur on their projects, some even go so far as to say Motion Blur should NEVER be used. We want to give Motion Blur a fair shot so we’re going to go through a few examples where motion blur could be beneficial or where your animation may be stronger without it.
The Benefits of Motion Blur
The idea of motion blur was brought into animation to help blend frames and imitate the blurring that occurred in older cameras, due to objects moving quickly. Nowadays, we have cameras with high speed shutters, so we’re able to nearly eliminate motion blur, much like the human eye.Without motion blurring applied to your animation, each frame is like a perfect still moment in time, and the motion can feel a bit staggering. This is exactly what stop motion animations are. While the motion is smooth, each frame is a perfect moment in time.
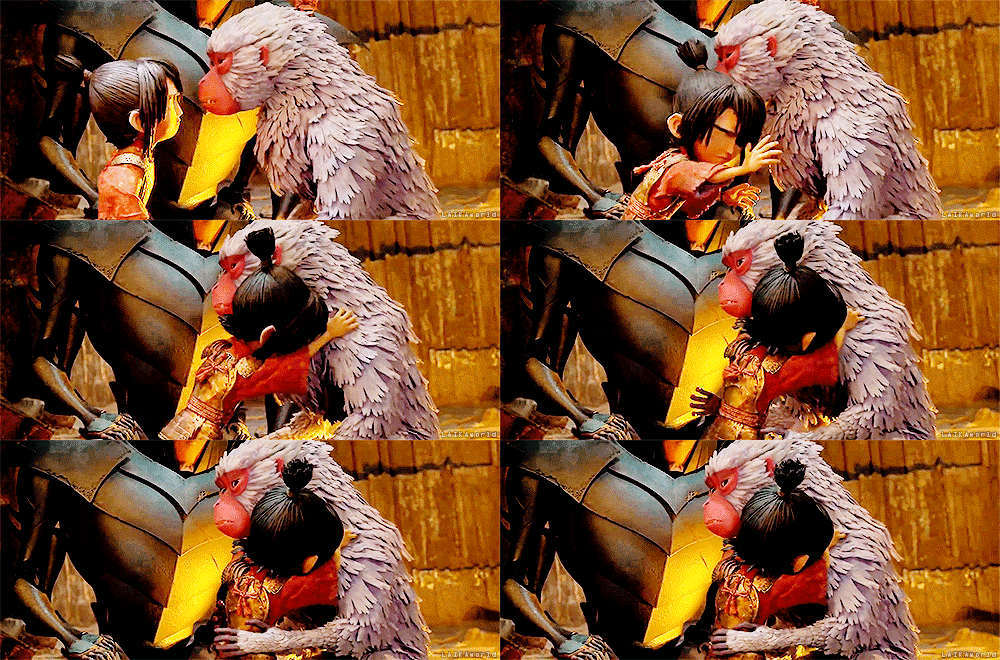
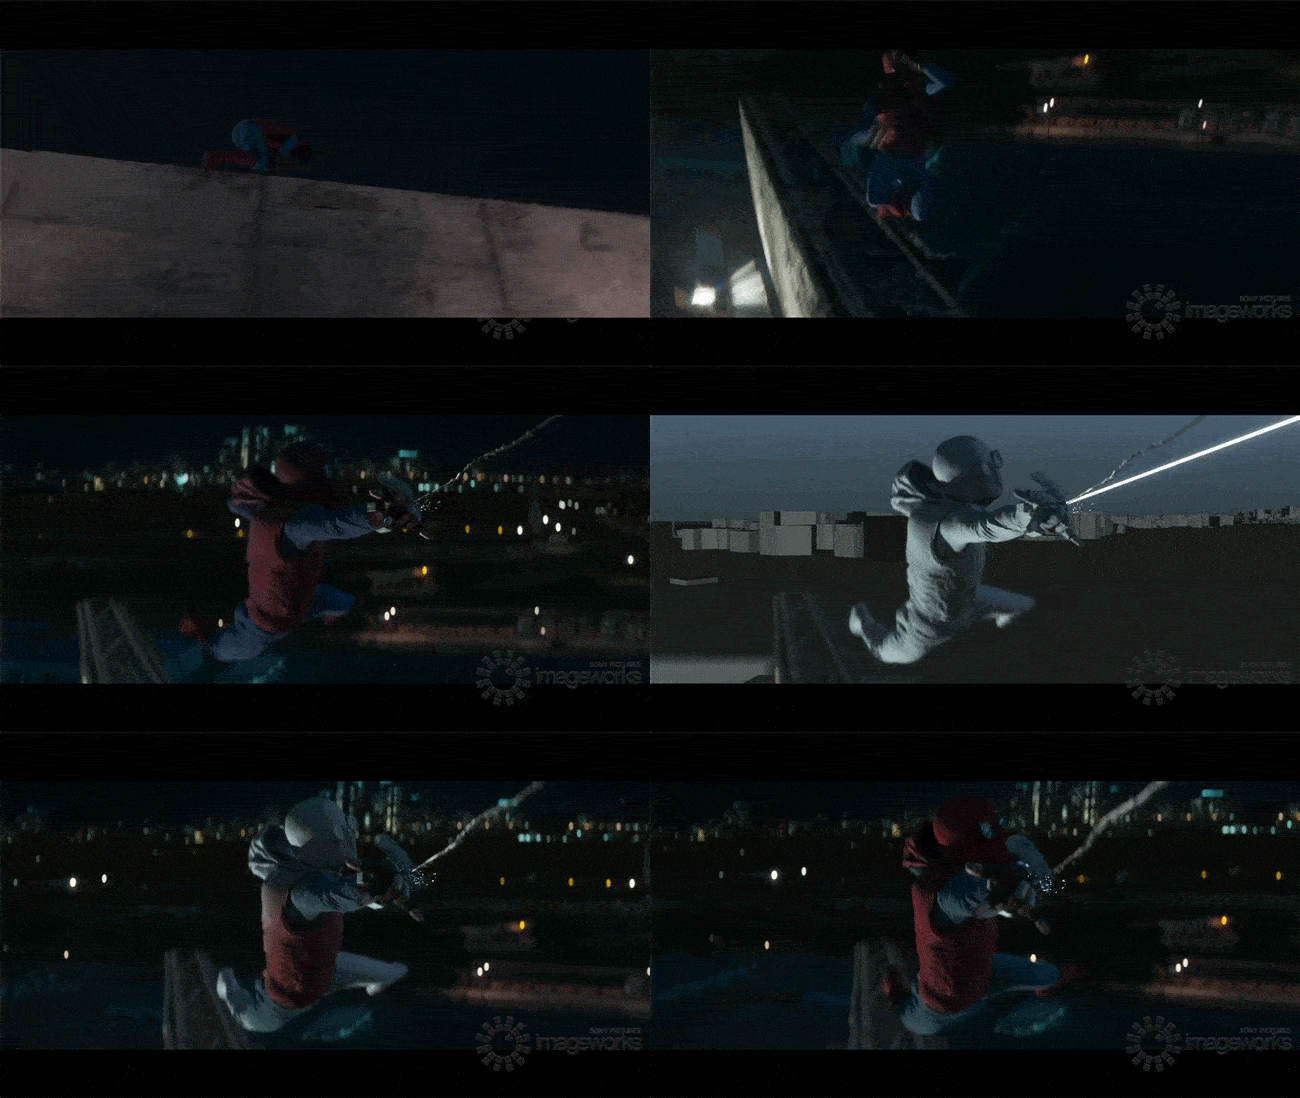
However, when we apply motion blurring, the motion can feel more natural, as the frames feel more continuous. This is where motion blur really can shine. When our animation is striving to imitate real life, or being composited into live-action footage, motion blurring can really help sell the believability of our animation and make it feel like it was captured on a camera.
The Problem with Motion Blur
When we’re working on a typical 2D mograph project in After Effects, it might feel natural to just apply motion blur on everything before your render, but sometimes it’s better to have no motion blur at all.
Let’s talk about a simple ball bounce. You’ve animated this nice ball dropping in and bouncing to a rest. Let’s compare how it looks with motion on, and motion blur off.

The motion might look desirable in the beginning, though we do start to lose some of the more nuanced bounces where the ball is closer to the ground. In the Motion Blur version, we also don’t actually see a frame with the ball touching the ground, until it’s closer to the end. Because of this, we start to lose the feeling of the ball's weight. Here, motion blur might feel a bit unnecessary, but it also takes away a little bit of detail in our animation.
WELL THEN, HOW DO I CONVEY FAST MOTION?
Back in the earlier days of animation when every frame was hand-drawn, animators would use a few techniques like “smear frames” or “multiples” to convey fast movement. A smear frame is a single illustrated depiction of motion, whereas some animators would draw multiples of the same illustration to show the motion. The best part is, your eyes don’t even notice the difference.
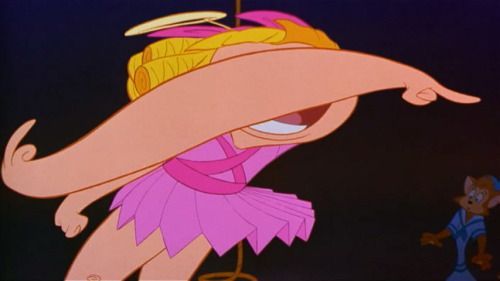

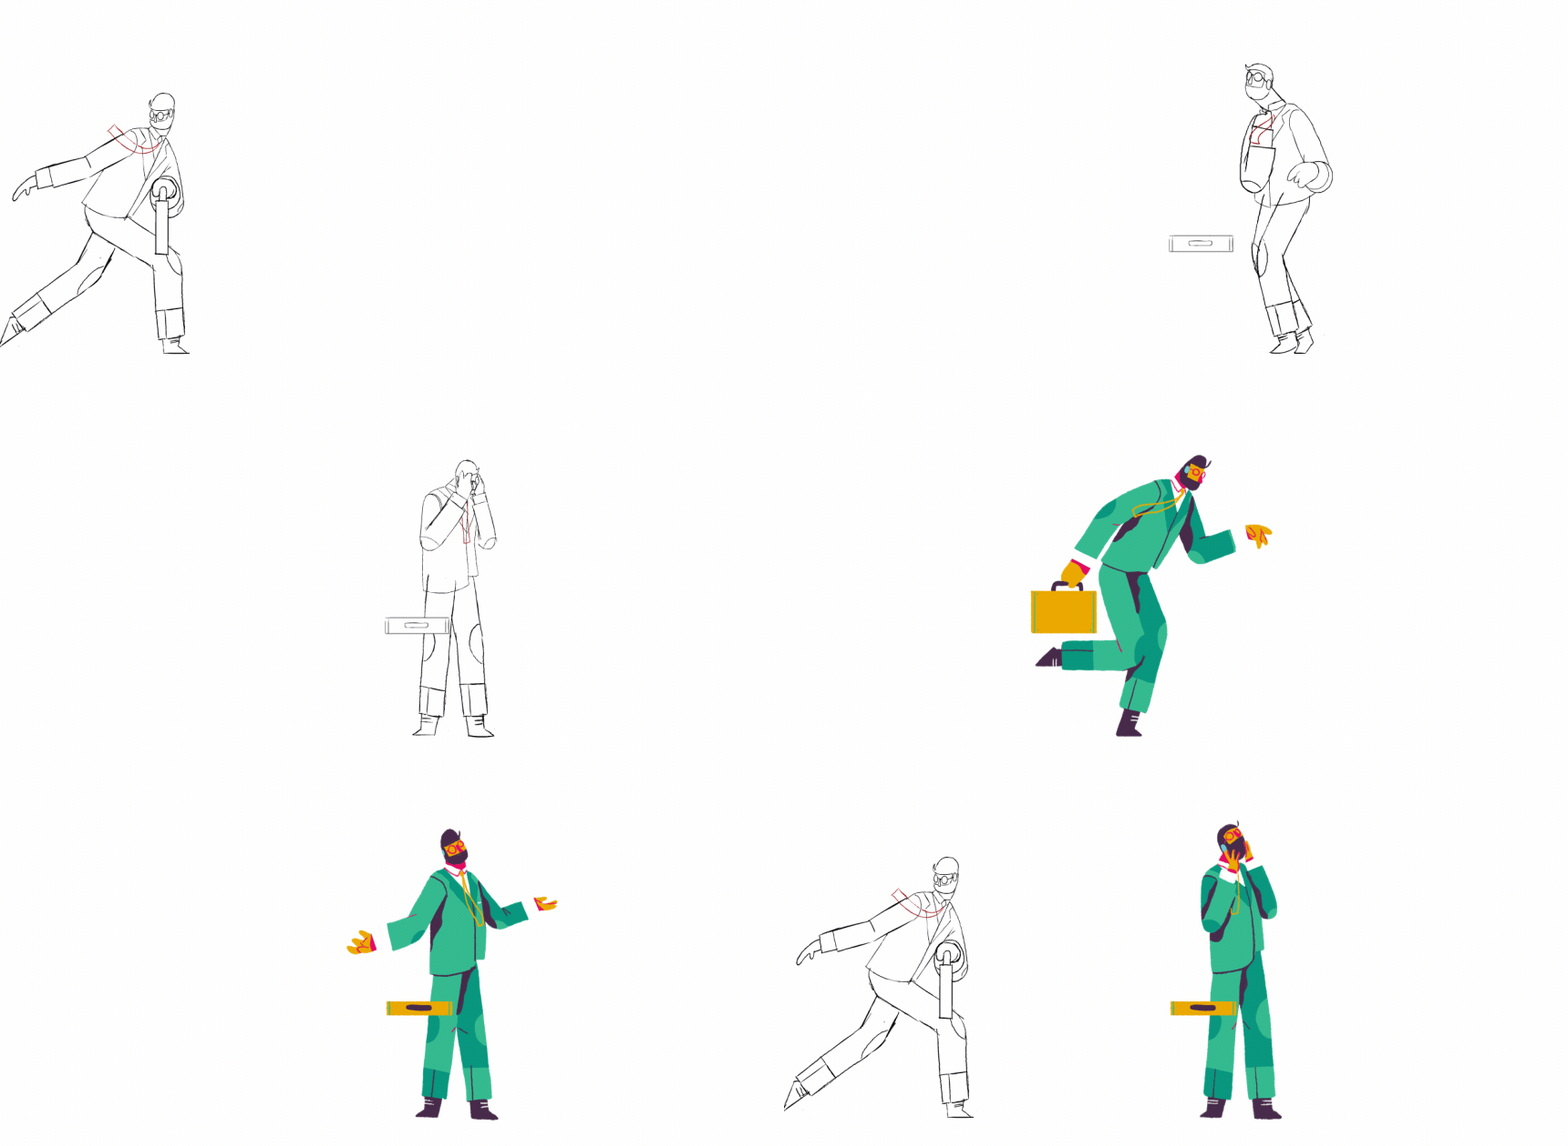
Traditional animators are still using this technique today in motion graphics, and it works extremely well. Henrique Barone from Giant Ant is pretty amazing at inserting smear frames at just the right moment. See if you can spot the smear frames in this GIF below:
What If You’re Working In After Effects?
There are very stylistic ways that you can convey fast movement without having to turn on the default motion blur. Some animators create motion trails that follow the object that’s moving, others also utilize the smear frame technique.
Check out an example here of some stylistic motion trails:

And here are a few examples of the smear technique in After Effects:


This is even a technique that animators are using in other mediums as well. We used stop motion as an example of animation that typically doesn’t have motion blur, but here you can see an example of smearing done on a 3D printed character in Laika’s stop motion film, “Paranorman”:
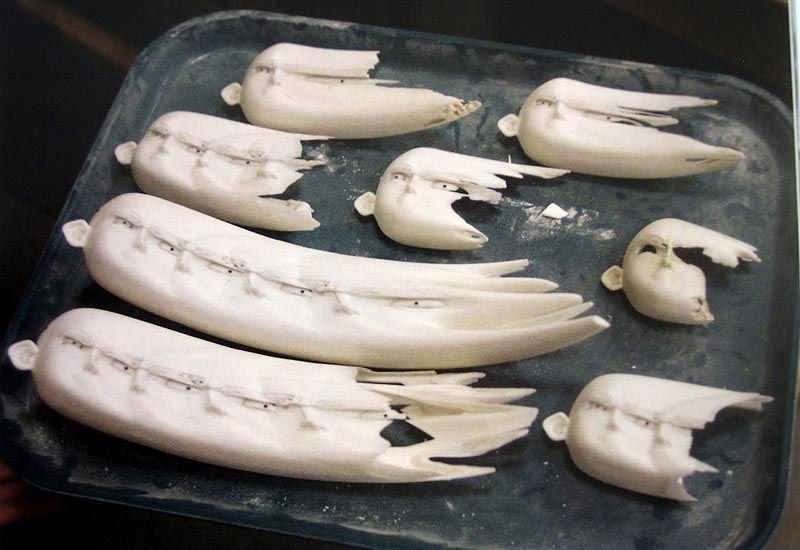
Additionally, it’s being utilized in 3D animation too. In “The Lego Movie”, they had a very stylized way of doing smear frames, utilizing multiple pieces of legos to convey the idea of fast motion.
So when you’re working on your next masterpiece, stop and think about what type of motion blur is best for the project. Is your project supposed to look fully realistic? Then maybe using the default motion blur in After Effects or Cinema 4D would help make it feel more natural.
Or do you think your project would benefit from a more stylized type of motion blur? Perhaps too, no type of motion blur at all can sometimes be a good option. Whatever you may choose, just make sure that you’re making a choice based on what your animation would benefit from the most!
BONUS CONTENT
If 2D trails and smears are your thing, here are a few plugins that can help you get a good start. Though, sometimes creating it yourself can result in a more interesting approach:
Or if you’re working with a more realistic animation or a 3D render, we really love the plugin Reelsmart Motion Blur (RSMB)
ENROLL NOW!
Acidbite ➔
50% off everything

ActionVFX ➔
30% off all plans and credit packs - starts 11/26

Adobe ➔
50% off all apps and plans through 11/29

aescripts ➔
25% off everything through 12/6
Affinity ➔
50% off all products

Battleaxe ➔
30% off from 11/29-12/7
Boom Library ➔
30% off Boom One, their 48,000+ file audio library
BorisFX ➔
25% off everything, 11/25-12/1

Cavalry ➔
33% off pro subscriptions (11/29 - 12/4)

FXFactory ➔
25% off with code BLACKFRIDAY until 12/3

Goodboyninja ➔
20% off everything

Happy Editing ➔
50% off with code BLACKFRIDAY

Huion ➔
Up to 50% off affordable, high-quality pen display tablets

Insydium ➔
50% off through 12/4
JangaFX ➔
30% off an indie annual license
Kitbash 3D ➔
$200 off Cargo Pro, their entire library
Knights of the Editing Table ➔
Up to 20% off Premiere Pro Extensions
Maxon ➔
25% off Maxon One, ZBrush, & Redshift - Annual Subscriptions (11/29 - 12/8)
Mode Designs ➔
Deals on premium keyboards and accessories
Motion Array ➔
10% off the Everything plan
Motion Hatch ➔
Perfect Your Pricing Toolkit - 50% off (11/29 - 12/2)

MotionVFX ➔
30% off Design/CineStudio, and PPro Resolve packs with code: BW30

Rocket Lasso ➔
50% off all plug-ins (11/29 - 12/2)

Rokoko ➔
45% off the indie creator bundle with code: RKK_SchoolOfMotion (revenue must be under $100K a year)

Shapefest ➔
80% off a Shapefest Pro annual subscription for life (11/29 - 12/2)

The Pixel Lab ➔
30% off everything
Toolfarm ➔
Various plugins and tools on sale

True Grit Texture ➔
50-70% off (starts Wednesday, runs for about a week)

Vincent Schwenk ➔
50% discount with code RENDERSALE

Wacom ➔
Up to $120 off new tablets + deals on refurbished items


Learn After Effects the Right Way

Master the After Effects interface and build a real animation skillset. Enroll in All-Access to unlock AE Kickstart and 50+ other courses.


