All-Access Pass
Unlimited access to 50+ courses, unlimited critique, live events, and 24/7 community. Join School of Motion All-Access today.

If you're trying to edit footage in After Effects, you're doing it wrong. Let's fix that.
For motion designers, editing footage can be a stressful, tedious experience. Even though a lot of your skills overlap, the process of clipping together footage and matching it to the right soundtrack eludes even veteran designers. If you're working with Adobe Premiere Pro, one of the most popular editing programs around, we've got a few tricks that might just make your day easier.
Premiere Pro is one of the golden standards for editing in the industry. While you can put a lot of great animation together in After Effects, the software just isn't optimized for assembling footage in the same way. Whether you're brand new to editing or have done this a hundred times, we've collected a few tips and tricks that should help streamline your workflow and make the entire process a lot easier.
We should clarify that this is a look at Premiere Pro from a motion design perspective. If you're trying to be the next Paul Machliss, Tatiana S. Reigel, or Yang Jin-Mo, this won't quite get you there. In this tutorial, you'll learn:
- How to set up your Premiere Pro Preferences
- Why you should use Premiere Pro over After Effects
- Program Monitor Tips and Tricks
- And a ton of ways to streamline your workflow
Quick Tips and Tricks for Adobe Premiere Pro
{{lead-magnet}}
How to set up your Premiere Pro Preferences
When you're getting started in Premiere Pro, the first thing you want to do is adjust your preferences. Yeah, I know, this seems like a pretty basic topic to cover, but it's going to affect everything to follow. It's like laying out all the ingredients before you attempt to make my world famous "Candy in a Bowl Surprise!" (The surprise is just how much butter I add in)
I go into a lot more detail in the video, so let's run through this fast:
CHANGES TO GENERAL
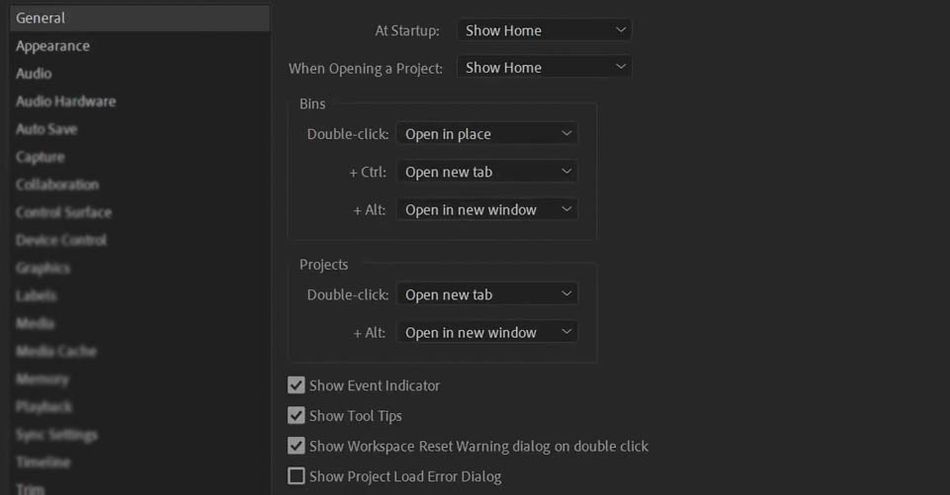
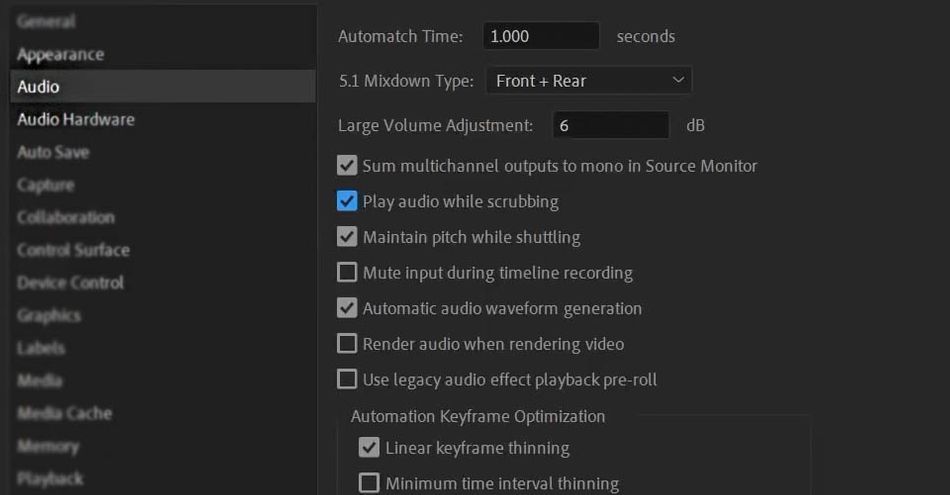
CHANGES TO AUDIO
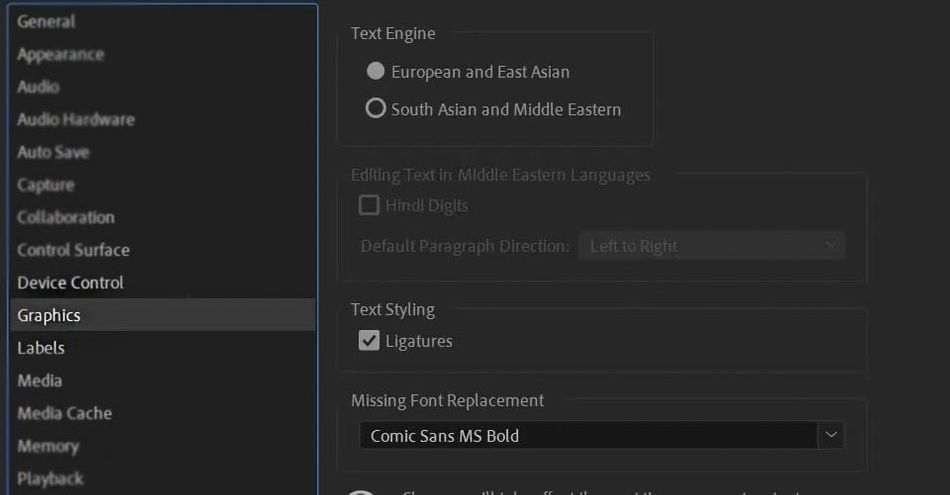
CHANGES TO GRAPHIC
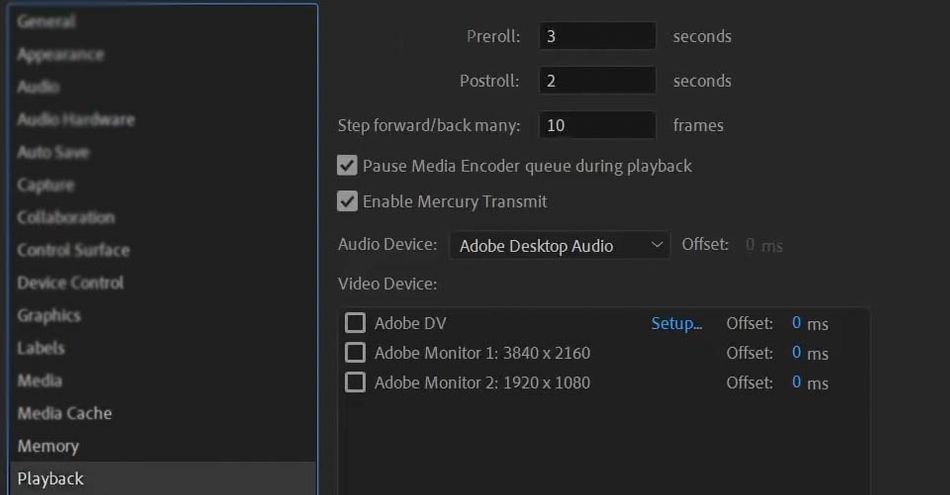
CHANGES TO PLAYBACK
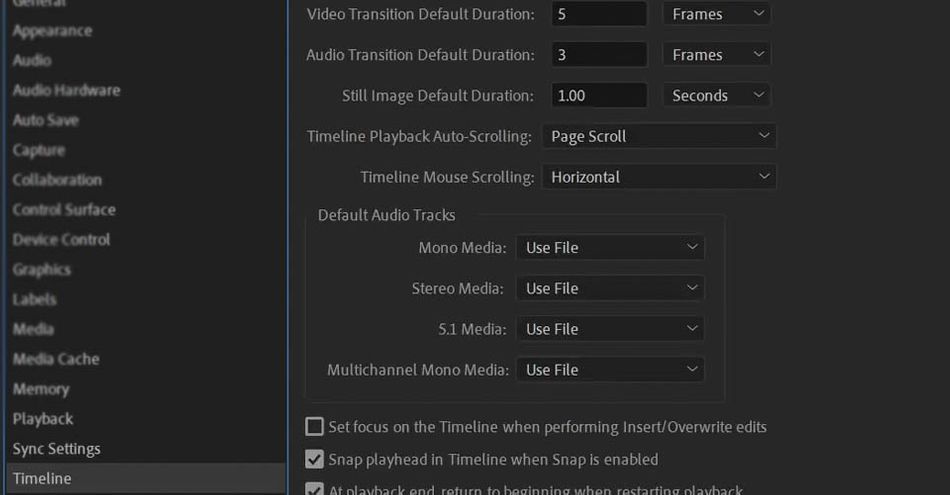
CHANGES TO TIMELINE
Why Use Premiere instead of After Effects for Editing?
When you're at the beginning of a project, working with storyboards or pre-vis, it's easier to get into Premiere and start sketching. Premiere is built for speed rather than high-fidelity effects.
In After Effects, you can't have multiple clips in a single layer. In Premiere, you can have multiple clips per track, and it's a lot easier to swap clips around to play with sequences.
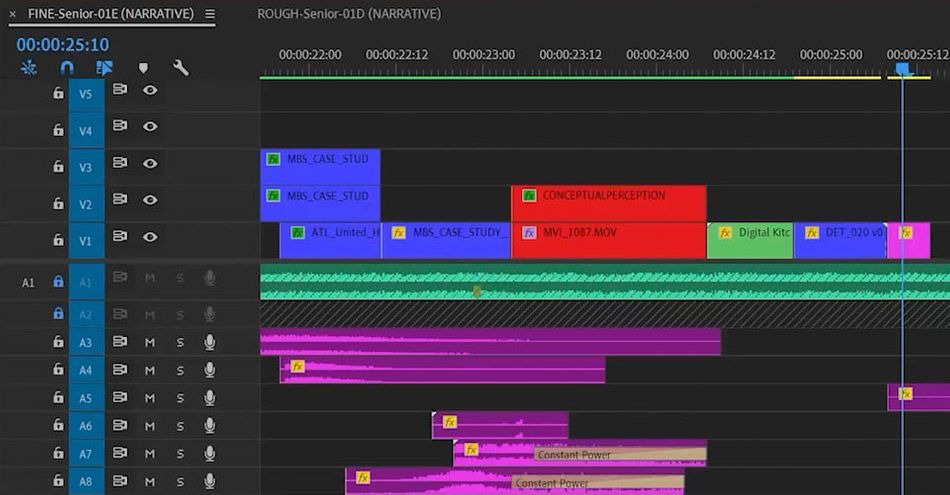
It comes down to using a tool for its intended purpose. Sure, you can edit your footage together using After Effects, but it's like trying to make a burrito with a taco-sized tortilla: You're going to have a mess of a time trying to fit everything together, and you'll constantly be dropping things on the floor.
Premiere Pro has shortcuts to quickly swap footage, adjust audio, drop in simple effects, and test out looks before committing in the export. Best of all, it's part of the Create Cloud, so it can work alongside all of the programs you already use.
Program Monitor Tips and Tricks in Premiere Pro
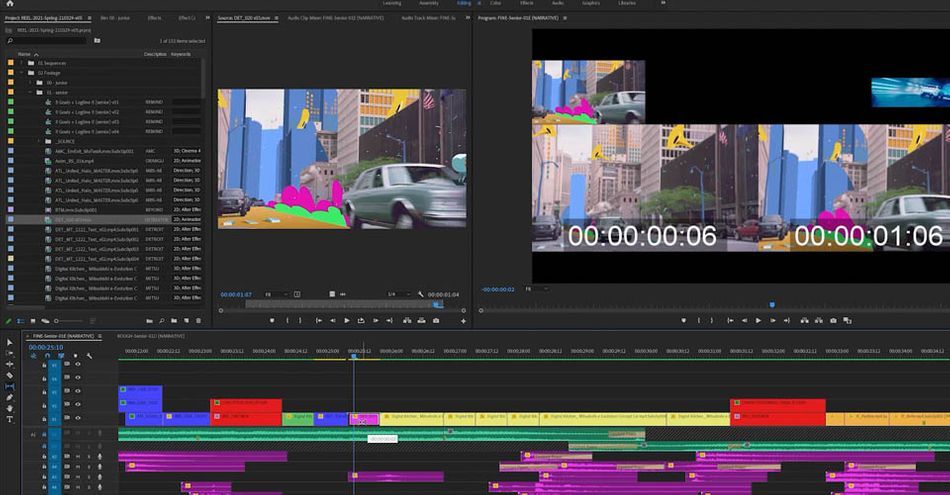
There are a ton of little tricks that make using Premiere Pro a faster way to edit your footage. I cover more in the video above, but let's look at a few here.
NUDGE CLIP SELECTION
When you're dialing in the edit, moving the footage a frame or two in either direction is key. When you try to drag the clip, it can snap to the wrong area and become an exercise in frustration. That's why you just need CMD+Left and Right Arrow Keys (or ALT for PC) to nudge the clip frame by frame.
You can also nudge clips up and down to different tracks.
SNAP TO TIMELINE
There are times you want the clips to snap to the Timeline...and times you want more control. That's as easy as pressing S to toggle Snap to Timeline on and off.
SLIP TOOL
If you've got a clip already cut into your sequence, but you need to adjust the start/end point, press Y to toggle on the Slip Tool. This allows you to simple drag that clip along its own timeline to adjust the start and end points while maintaining the same overall length.
Create Custom Hot Keys in Premiere Pro
Like pretty much any software worth the hard drive space, Premiere allows you to create custom hot keys to take your workflow into warp drive. While there are a ton of commonly-used keys we recommend, you'll likely want to make your own in short order.
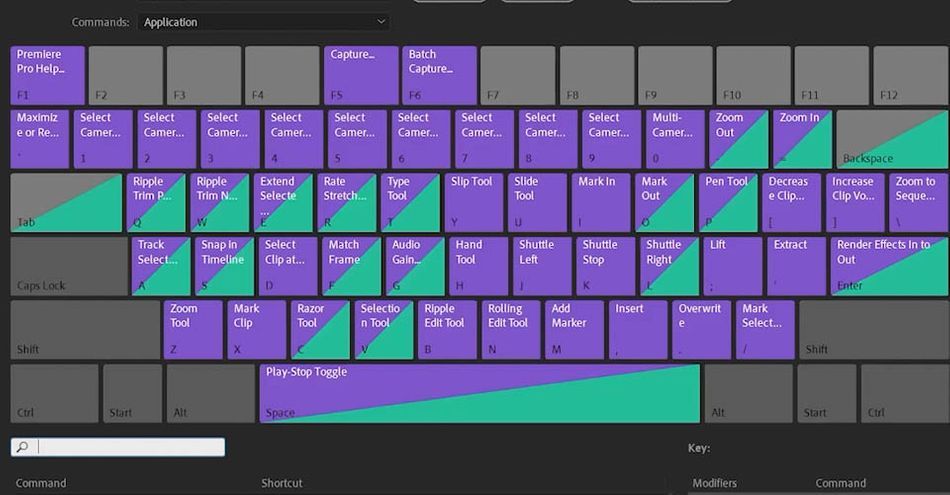
If you find yourself constantly opening menus and searching for commands, it's a good sign you need a custom hot key. Luckily, creating a new one is super simple:
- Select Keyboard Shortcuts under the Edit Menu, or press CTRL+ALT+K (PC)
- Use the search field to find the function you need to map
- Click in the Shortcut field to map a key
- Press the key you want to use
Looks like you're a Premiere Professional now!
We know this is just scratching the surface, but now you at least have a firm understanding of the basics. Premiere Pro is a surprisingly deep and powerful program...it just takes practice. You weren't a boss at After Effects your first time through, so be patient as you adjust to the new tools and tricks. Once you have a few edits under your belt, you'll never want to go back.
What about editing your brand new reel?
Now that you know a bit more about editing footage in Premiere Pro, maybe we ought to apply those tricks to your new reel. Like it or not, a demo reel is one of the most important tools you have to attract new clients and land new gigs. That's why we put together Demo Reel Dash!
With Demo Reel Dash, you’ll learn how to make and market your own brand of magic by spotlighting your best work. By the end of the course you’ll have a brand new demo reel, and a campaign custom-built to showcase yourself to an audience aligned to your career goals.
ENROLL NOW!
Acidbite ➔
50% off everything

ActionVFX ➔
30% off all plans and credit packs - starts 11/26

Adobe ➔
50% off all apps and plans through 11/29

aescripts ➔
25% off everything through 12/6
Affinity ➔
50% off all products

Battleaxe ➔
30% off from 11/29-12/7
Boom Library ➔
30% off Boom One, their 48,000+ file audio library
BorisFX ➔
25% off everything, 11/25-12/1

Cavalry ➔
33% off pro subscriptions (11/29 - 12/4)

FXFactory ➔
25% off with code BLACKFRIDAY until 12/3

Goodboyninja ➔
20% off everything

Happy Editing ➔
50% off with code BLACKFRIDAY

Huion ➔
Up to 50% off affordable, high-quality pen display tablets

Insydium ➔
50% off through 12/4
JangaFX ➔
30% off an indie annual license
Kitbash 3D ➔
$200 off Cargo Pro, their entire library
Knights of the Editing Table ➔
Up to 20% off Premiere Pro Extensions
Maxon ➔
25% off Maxon One, ZBrush, & Redshift - Annual Subscriptions (11/29 - 12/8)
Mode Designs ➔
Deals on premium keyboards and accessories
Motion Array ➔
10% off the Everything plan
Motion Hatch ➔
Perfect Your Pricing Toolkit - 50% off (11/29 - 12/2)

MotionVFX ➔
30% off Design/CineStudio, and PPro Resolve packs with code: BW30

Rocket Lasso ➔
50% off all plug-ins (11/29 - 12/2)

Rokoko ➔
45% off the indie creator bundle with code: RKK_SchoolOfMotion (revenue must be under $100K a year)

Shapefest ➔
80% off a Shapefest Pro annual subscription for life (11/29 - 12/2)

The Pixel Lab ➔
30% off everything
Toolfarm ➔
Various plugins and tools on sale

True Grit Texture ➔
50-70% off (starts Wednesday, runs for about a week)

Vincent Schwenk ➔
50% discount with code RENDERSALE

Wacom ➔
Up to $120 off new tablets + deals on refurbished items


All-Access Pass

Unlimited access to 50+ courses, unlimited critique, live events, and 24/7 community. Join School of Motion All-Access today.
