Ready to get real geeky?
In this tutorial you’ll be spending plenty of time getting acquainted with expressions. You’ll be writing all kinds of code (or copying and pasting if that’s more your style) to try and recreate some of the very powerful functions of the Cinema 4D MoGraph Module.
By the end of this tutorial you’ll have a pretty simple rig that will let you do some of the things MoGraph in Cinema 4D is capable of. You can even extend the functionality of the rig a heck of a lot by adding more and more code, but this video will keep it pretty straightforward. The end result is a cool kaliedescope-esque animation that would be almost impossible to achieve without this rig.
{{lead-magnet}}
-----------------------------------------------------------------------------------------------------------------------------------
Tutorial Full Transcript Below 👇:
Joey Korenman (00:16):
Hello again, Joey here at School of Motion and welcome to day 28 of 30 Days of After Effects. Today's video is going to be pretty cool and there's going to be a lot of expressions in it, but in the end, what you're going to end up building is a rig that in many ways, resembles MoGraph from cinema 4d, motion, graphics, artists love MoGraph because it lets you do stuff like what's going on behind me with not that many key frames and minimal effort. And it's easy to tweak. And after effects, there are some plugins that can replicate the MoGraph module, but actually this is one of the fastest and easiest ways I know to build animations like this. There's a lot of advantages to doing this way that I'm going to talk about. Now, if you're into making repetitive animations and cool geometric things like this, you're going to like this video.
Joey Korenman (01:01):
Don't forget to sign up for a free student account. So you can grab the project files and expressions from this lesson, as well as assets from any other lesson on the site. Now let's hop into after effects and get started. So this one is pretty cool. Um, this is something that I I've started doing a little bit more in after effects, which is trying to recreate some of the functionality of cinema 4d inside of it. Uh, for those of you that haven't used cinema four D very much, there is this big area of cinema 4d called MoGraph, which lets you very easily make repeating animation like this. Um, and sometimes I call it cascading animation because it's it's animation. That's simple. Right. But it's just offset, right? So if you just look at each piece of this, like the, these little pink balls that fly out of the center, the animation of each one is very simple, but what makes it cool is they're all offset and, you know, look at these triangles, these blue kind of triangles they're offset too, but in a random way, it's not in this like, you know, linear way.
Joey Korenman (02:01):
So I'm going to show you how to build a system. And I got to warn you, this is an expressions sort of based technique, but it's actually not as complicated as you'd think. And if you're getting into expressions, this is actually a really good technique to try and use as a way to figure out expressions better. So all we're going to do is we're going to make a new comp and we're just going to call this a dot. So first thing we need to do is create some animation that we can then replicate and create this cool cascading animation with. So let's make a circle and it's very important because of the way this is going to work, that we are very precise with where we put things on screen. So I want to circle right smack dab in the middle of the screen. So I'm going to double-click on this ellipse tool and this is a little trick I use because what happens is it will then put on a lips right in the middle of your frame, right in the middle.
Joey Korenman (02:57):
And now if I go to the ellipse path and I set the size to 10 80 by 10 80, now it's a perfect circle and now I can shrink it down and I've got a circle directly in the center. And I know, I know for sure that the anchor point is right in the middle. All right. So let's get rid of the stroke. I don't want to stroke on that. I just want a little circle just like that. So let's just do a simple little animation on this. Um, let's have it, let's have it move from the center out to the right somewhere. So let's separate the dimensions, but a key frame on X, uh, let's go forward. I know 16 frames and scoot way over here. Easy ease these. And of course we don't just want to leave it like that. We want to pop in here and we want to add a little character to this.
Joey Korenman (03:42):
So I'm going to have it. I'm going to have it overshoot a little bit. Okay. So let's, let's have it over shoot and swing back. Maybe it overshoots back the other way a little bit. And really, we just want something that's going to have a lot of movement to it so that when we start cloning it and offsetting the animation, it'll look really interesting. Okay. Let's see what this looks like. Cool. All right. Nice little animation there. Beautiful. Uh, and then, you know, I don't want the.to just appear in the middle. I want it to, I want it to sort of animate on. So, um, let's also animate the scale and let's just, um, let's just go to like, I don't know, frame six, make it a hundred percent there. And at frame zero, it's 0% scaled. Well, easy is this. So now it'll sort of scale up as animates on these cake.
Joey Korenman (04:40):
Alright. So there's our animation. So here's what we're going to do. Uh, let's now make a new pre-com and let's call this.mo graph and let's bring that dot animation in there. So what we want to do is we want to be able to duplicate this a bunch of times, right. And have each one be slightly offset like this. Right. And, and we, and we want them to sort of create this radial kind of array. And then we want each one to be offset in time a little bit. Right. So we can get this cool cascading thing. Now you can do it manually, of course, but that's a pain in the butt and that's why God created expressions. Or I don't know someone at Adobe. It wasn't really God. So, uh, let's think about this. What, what are we going to need in order to make this happen?
Joey Korenman (05:32):
Well, for one thing, we're going to need an expression to automatically rotate our layers for us so that they are rotated correctly. Right. Um, and there's a pretty neat way. We're going to do that on top of that, we're going to need an expression to offset the time of, of these layers for us. Right. And for that, we're going to want to probably be able to set, um, the delay of each layer. So we're going to want to control to be able to do that. Um, we also may want these things to animate on kind of using a random time offset instead of having, you know, this one, be one frame later, this one would be one frame later. We may want them to be a little more random and, and you know, and have random timing. And so we may want to be able to also set the, the total randomness.
Joey Korenman (06:20):
So the rotation can be set automatically based on how many of these dots there are, right. If there's two dots, right, then this one needs to be rotated 180 degrees. If there's three dots, well then this one needs to be rotated 120 degrees. And this one needs to be rotated 240 degrees. So we want to automatically be able to set that stuff. Okay. So here's what we're gonna do. We're gonna make a Knoll. We're gonna call this MoGraph control. So this will be our controller object and we don't need it to be visible. We're going to add in the expression controls, we're going to add a slider control and we're gonna, we're actually gonna add two slider controls. So the first letter control is going to be the time offset and we will, we will have this work in frames. Okay. Then I'm going to duplicate this and we will have a random time in frames.
Joey Korenman (07:17):
And I want to be able to set both so we could have, you know, we could have the animation happen, you know, in a cascading fashion, like counterclockwise or something, but we could also have it be slightly random. I want to have the ability to do both. So first let's talk about the rotation. All right. So what this is going to depend on having one layer that is sort of our reference point. So what am I do is I'm going to duplicate the dot. So now there's two, I'm going to make the bottom one, a different color, and I'm going to call this dot master. Okay. Now this one I'm going to rename it to dot oh one. Now it's, it is helpful if you put a number on the end, because if you do, when you duplicate this after effects will automatically increment the number for you.
Joey Korenman (08:06):
So that's just like a nice little trick. So we're going to put an expression on the rotation of.one. And what we need that expression to do is figure out how many dots there are total in scene, figure out, okay, well, there's two dots. So how much do I need to rotate this.so that it will create a 360 degree circle? All right. So let's talk about how we're going to do this. Here's our expression, hold option, click the stopwatch. Now you can enter an expression. So what we need, we first need to know how many dots are there total in the scene. Okay. And now how can we figure that out? Every layer in after effects has an index. That's this number right here in this column. So if we know that the, the master layer, right layers at the bottom here, that we're basing a lot of information off of, we can look at the index of that layer because that's always going to be the biggest number that this right now, this has an index of three.
Joey Korenman (09:07):
Now, if we take three and we subtract one from it, we know how many dots there are in the scene. And we're subtracting one because we don't need to know about this. Not this Knoll should not be counted in this equation. And if we duplicate this, now this becomes index for right. So you subtract one, you know, there are three dots in the scene. So the way we can figure out the number of dots is by looking at this layer, right? So I'm going to pick whip to this layer and I'm going to type in dot index. All right, when you're writing expressions, you can pick whip to a layer and then add a period and type in a variable name to, to get information about that layer. So I want the index of this layer. Okay. And then I want to subtract one. So that's the number of dots in the scene.
Joey Korenman (09:53):
Okay. So right now there are two dots in the scene. So the number of dots is gonna equal two. So how much am I going to have to rotate each layer? Well, so, so my, uh, my layer rotation is going to equal 360 degrees, which is a full circle divided by the number of dots. All right. So now we have a variable called layer, our OT layer rotation, which has a value of 180. And if I duplicate this and now there's three dots, this is going to have a value of 120. So this is always going to be how much each layer needs to rotate. Okay. So now what I need to do is figure out how many times do I need to rotate by that amount of what I mean is if there are three dots, well, then this dot needs to rotate one times this number, and then the next dot needs to rotate two times that number.
Joey Korenman (10:47):
So I basically need to find out how many dots away from the master.am I okay? And the way you can do that is you can subtract the index of the current layer, whatever layer you're on from the master index. So if you say my index equals, right, so pick whip to the master type in dot index and then subtract the current layers index to get this layers index. All you have to do is type in index. Okay? So again, my index is the master layers index three, minus my index, which is two. So this, my index variable is actually going to have a value of one. And if we multiply that number times, this layer rotation number, we are going to get 180. What's amazing about this little expression. And I hope you guys understood that. I hope that you grasp that type it in, break it down and really try to understand it because here's the amazing thing.
Joey Korenman (11:51):
If I duplicate this, now it's going to automatically rotate every single layer to make a perfect circle. No matter how many copies of this I make. Okay, there you go. So that's the rotation expression, and I can see that, um, these are the, the circles are popping out too far. So I need to, uh, and just need to go into my pre comp here. And let's look at the exposition. Here we go. And I'm just gonna bring all this down a little bit. Awesome. Cool. Okay. And again, this is amazing. I just duplicate it as many times as I want. And if I say, you know what, I only want 10 dots. There you go, rotations handle automatically. Now let's talk about this stuff, the time offset. So what I need to do is I need to have a way of setting the time that we're looking at each of these pre comps, right?
Joey Korenman (12:44):
So the first thing you need to do is select every dot and enable time remapping so that the hot key is command option T, or you can go up to layer time, enable time remapping. So now I have a property that I can put an expression on that will let me kind of offset these. All right. So, uh, let's start by making this easier. Let's get rid of all these dots. Okay. So here's what we want. We want the time re map of each of our subsequent dots. We're not going to put an expression on the master. Remember this master is like a reference for us, so we don't really need to have any expressions on that. But what I want to do is I want to look at whatever this time remap value is of the master. And the good thing about a time remap property is that it's automatically going to go up, right?
Joey Korenman (13:35):
If you, if you don't mess with these key frames at all, this is going to tell you exactly what time, uh, you know, on this layer you're looking at. And so what I could do is I could have this time remap look at this time, remap and say, Hey, whatever this is set to, I want you to add whatever this time offset is. Right? So instead of three 14, I want it to be three 15. So it'll be one frame difference. So here's how we're going to do that. Okay. And I'm going to walk you through a couple of steps here. So first we'll put an expression on here. Um, and actually before I do that, I want to make sure that I open up the sliders on my timeline so that I can pick what to them. All right. So we're looking at this expression.
Joey Korenman (14:18):
So first thing I'm gonna do is I'm going to say my time offset equals, and I'm going to pick whip to this, and now I need to do something very important when you are, um, when you are working in an expression and after facts on anything that relates to time, you are not going to tell this property what frame you would like. You have to actually tell it what second you would like. So I don't want to have to think in seconds up here. I want to say, I want this delayed by two frames. Well, down here, the number two actually equals two seconds. So if I want to convert that into frames, I need to divide by the frame rate. So my frame rate is 24. So I'm just going to put divided by 24. Okay. So I'm taking this number, I'm divided by 24.
Joey Korenman (15:07):
So now my time offset is in seconds. So then all I need to do is say, well, look at this layer, right? So this layer is time remap, and that is the sort of base time. So the base time equals this. Okay. Um, and so then I need to, I need to figure out that same variable that we figured out for rotation. If you remember, we needed to figure out the difference between the current index of this layer and the index of the master. So we know how much to multiply that number by that rotation. Okay. So we're gonna do the same thing with time remap. We're going to say, um, my index equals and we're looking at this layer's index and subtracting our index. Okay. So then what we can do is we can say, all right, what I want to do is take the base time. And I want to add my index times the time offset.
Joey Korenman (16:13):
Cool. So what this is doing in sort of English is it's figuring out the time offset, which right now is zero. So let's just set the time offset to two frames. Okay. So it's saying the time offset is two frames, right? The current time we're looking at here, let me go back to the beginning here. You can actually see that now this is actually offset by two frames. Cool. Um, so it's saying, and, and you can actually see here that now this is, uh, this is two frames ahead. So actually what I want to do is set this to negative two. Here we go. Cool. Two frames offset. So the time offset is two frames. The base time, the current time we're looking at is 19 frames. Okay. And my index is three minus two. So one, I am the first dot that comes after this master dot.
Joey Korenman (17:00):
So I want to take my, my index, which is one, and I want to Mo I want to multiply it by the offset. So the offsets two frames. So that's, that's what that's all we're going to worry about is two frames. And I'm going to add that to the base time to get the correct time. And what's great is now if I duplicate this, right, because we are taking or figuring out the index of this dot and multiplying that times, the offset it's going to automatically, excuse me, it's going to automatically offset every single.by two frames. Okay. So this expression is not very complex. I mean, you know, what I find a lot with expressions is, you know, look at this it's four lines it's really, and you could probably do it in one line. If you want to do this, just makes it a little bit easier to read.
Joey Korenman (17:48):
Um, it's, it's not knowing the expressions. That's hard. It's understanding how to think like a programmer, you know, like figuring out just logically how to make this stuff work. And the more that you absorb, the better your brain's gonna get at doing this type of stuff. Cool. All right. And so now we can just duplicate this as many times as we want, and you get your time offset and it's automatic. And now here is one of the amazing things about this technique. And one of the reasons that it's so powerful is, you know, if you were going to do this manually, right, the absolute smallest amount that you could offset, one layer from another layer is one frame. What I mean is, if you were just doing this manually like this, you can only have one frame that is the minimum distance. You can move something and after effects, right?
Joey Korenman (18:42):
So if you wanted all of these things to cascade out like this, and there's, you know, there's a 14 dots here, right? If you wanted that to take less than 14 frames, it would be impossible, right. Or you'd have to do it. And then pre-camp it. And the time you have it with expressions, though, you can offset things by less than one frame. Right. And so now, and you can even see in real time as I adjust this number, right, it's pretty slick. I can, I can have this be offset by one 10th of a frame, right? So you get a really tight little spiral like that. And this is something that you honestly are going to have trouble doing. If you try to manually move, layers around and do it that way, it's just not as easy. But with the, with this little set up, it becomes so simple.
Joey Korenman (19:31):
Cool. So now we've got the time offset parts. Now let's talk about the randomness. So let's set the time offset to zero. So they all pop out at the same time. Uh, and let's talk about the randomness now. So randomness in expressions, uh, is really powerful. Um, and it lets you create all kinds of cool behavior where you don't even have to think about it. So here's what we're going to do. Um, we are going to hop back into our time remap expression, and we're going to, we're going to add a little space here and we're going to start working on the random part. Okay. And I need to make sure that I can see this slider so that I can, uh, I can actually pick whip to it. So, all right. So what we're going to say is our random time amount name, these variables, whatever you want, is this okay?
Joey Korenman (20:20):
So we're grabbing that value and remember, we need to divide by 24 because we need this number to be in seconds. Okay? Okay. So now if we think about this, if we set this to two frames, what, what to me, what I really want is I want that to randomly change this time, remap either forward or backwards, two frames I want to have, I want to have it go both ways. Okay. Now here's how you do randomness in aftereffects is actually pretty easy. So why don't we say the, uh, the random actual, okay. So this is going to be the actual random amount that we're going to choose here is going to be, and here's how it works. Okay. And if you forget this, you can always click this arrow and look in these little, in this little pop-up box. So here's the random numbers group, and you can see all the different, um, you know, expression commands that deal with randomness.
Joey Korenman (21:16):
Um, and random is the easiest one. So all you do is you put you type in random, and then you put the minimum and the maximum number that you would like random to give you. So I'm gonna say random. And then in parentheses. So the minimum number I want is the negative, random time amount. And the maximum value I want is random time amount. Okay. So this random number, this random command is actually going to give me a number somewhere between, right. If this is set to two, let me actually set it. The two random, actual is going to be a number somewhere between negative two and two. Okay. So then all I have to do is take that number and add it to this expression here. Okay. And now I will get my time offset will be sorta taken care of, but then if I have any randomness that will also be taken care of.
Joey Korenman (22:12):
Okay. So let me, let me crank this number up. All right. And you can see that now this, and actually, let me, let me just go ahead and delete all of these really fast. Let's go get back down to two dots. So look at the time remap here. You're going to see something funny. All right. You see how the animation is all messed up now. And if you look at the time remap at the actual value, if I go frame by frame through it, you see it jumps around. All right. So when you use random numbers in an expression, there's one extra step you have to do. And that is you have to seed, it's called seeding. You have to seed the random number. So for example, if you have 10 layers and each of them is going to have this exact same random expression on there, how are you supposed to ensure that the random number for layer two is different than the random number for layer three, right?
Joey Korenman (23:04):
And the way it works is you have to give the random expression, something to base. The random number off of that is unique to each layer. Okay. And so what I'm going to do in the command for this, if y'all ever forget it, come in here, random numbers, seed random. This is where you're going to do. And there's two properties. Okay? So the first one is the seed. So here, here's what we're going to do, or change the word seed to index. When you're seeding the random number, you want something that is unique to every instance of this random number, right? And so each layer has a different index. This is index to the next one will index three and then four and then five. So that's going to ensure that this random command gives us a different number for each layer. Now, this is very important.
Joey Korenman (23:54):
Timeless equals false by default. The random number will change on every single frame. You don't want that if you type in true, that sets the timeless variable to true, meaning it picks one number and it sticks with that number. Okay. So now there you go. Now this is offset by somewhere between negative 10 and 10 frames. So now if I duplicate this a whole bunch of times and we play it, there you go, randomness. Okay. Pretty awesome. And so let me, uh, let me scrub forward here. Now here's one of the problems that you're gonna run into, uh, because I have this set to 10 frames. That means that some of these are going to actually be set 10 frames before the master. And so even on frame zero, you're already going to see some of this animation. Um, so you could mess with the expressions to fix that.
Joey Korenman (24:48):
I found it easier. Just jump into your pre-camp and just knock this thing forward 10 frames. Right. And the way I did that, if you don't know the hockey, you select the layer, you hold shift, command, and then page up, or sorry, your shift option, and then shift, shift, option, page up or page down, it will nudge your layer forward or backwards 10 frames. So now there you go. Now you've got complete randomness happening. Okay. But if you only wanted a little bit of randomness, but you still wanted these to happen sort of in order, he can do it like that. And so now you can actually control both the sort of linear time offset and also the random time offset. And if you want to stop watching right now, that's the whole trick right there. The beauty of this okay. Is that I can take this dot MoGraph and put that in its own comp.
Joey Korenman (25:43):
And I could, you know, put a, put a fill effect on there. Um, and I actually used some of the tricks that I've used in other tutorials to get a nice little 3d look on that, um, and pick some nice colors for it. And so now I've got this. Okay. And what I could do, let me call this a final comp two. So if I duplicate dot MoGraph and I call this, I don't know, like, um, I'll show you how I did the cool circle. So this would be circle little graph. Okay. And what I want to do is take my, um, take this dot, right? This little animation we made and I'm going to duplicate it and I'm going to call it circle and let's go in here. What I want to do is, uh, let me duplicate this dot and go to the beginning here, delete all these key frames and scale it up to a hundred.
Joey Korenman (26:33):
And then I'm going to change the elliptic path to be pretty big. And I'm going to get rid of the fill and I'm going to turn the stroke up a little bit. And what I want to do is make sure that this circle goes outside of where this little.is landing. So crank this up a little bit, that, and I'm going to delete the dot. Okay. And then I can add a little trim paths here. All right. And so now I can just get like a little sweep like this. And so what I could do is I could animate, uh, maybe the ellipse path size, and I could also animate the offset of this and maybe the ending too. So let's go forward, let's go forward 20 frames and let's put key frames on all those things we want to keep frame. Right. And then we'll go back to the beginning and we'll animate the offset. So it kind of moves around and we'll animate the end. And why don't we also animate the, um, start to, right. So we can have it, we can have it sort of start and kind of animate around and I'm going to offset this a little bit.
Joey Korenman (27:50):
Okay. So you get kind of this. Let's see. I don't really like what this is doing yet. Cool. So you've got this interesting little, this little guy, and it's going to end with a nice big chunk of a circle. There we go. Cool. Sorry. That took so long. I'm really, really anal when it comes to this kind of stuff. All right. And then on top of that, why don't we also animate the size? So it'll start out much smaller and maybe really crank up like that. I'm going to really crank these Bezier handles to cool. So you get something kind of interesting like that. Now what happens if you go into this circle, MoGraph select all these layers and then you can just hold option and replace all of those with your circle. And then you can just delete, I mean, sorry, duplicate the layers until you have enough to, to make the complete circle.
Joey Korenman (28:48):
If he didn't have enough in there, you just duplicate, duplicate, duplicate, duplicate, duplicate. And there you go. Now I have enough and now I can go to my control and say, all right, uh, I, I want nothing on the time offset, but I want a random offset of maybe eight frames. Right. And if we go to the first frame, you'll see that you're still seeing some of the animation. So I need to go into my pre comp and nudge this forward eight frames. And now you get this cool. Right? And it's like crazy looking and it took no time at all to make. And now I want it to happen faster. It's too slow. So I'm gonna get these closer together. There we go. Right. And then you just come to your final comp or final comp two, and you drag your circle, MoGraph in there.
Joey Korenman (29:37):
And then you put a fill effect on there and you make it whatever color you want. You know, and, and what I did also is I do, I would duplicate this and offset it and scale it down and, you know, and just sort of start making like repeating patterns. And what's cool is now you have this system in place where anything you make, you can just, you know, replace these layers and all the expressions will transfer over and you're done and you can control, you know, you control all kinds of stuff. So if we look at some of the things I did, right, I created this animation, right. This triangle animates on, that's all it does. It just animates on and points that way. And so then if we go here, you can see that I have a random offset on them. Right. So they all end up doing that.
Joey Korenman (30:28):
And then in this comp, I also added a scale. I key frame the scale of them so that when they came up, I made this a little bit bigger when they animate on, they then shrink down. Right? So that was like a little extra layer of animation to it. But, you know, I also did things like these little lines, right? If we look at these, these are very simple. I animated one line, which is doing that. And then I put it in my little MoGraph setup and I did this. And in this case, this is one of those things where, you know, the offset is, is not very much, you know, the offset here is, um, half a frame, right? A half a frame. You can't do that in after facts very easily. But if you set up the expressions, you can offset stuff by half a frame and get this really tight little spiral.
Joey Korenman (31:15):
So anyway, what I hope you guys take away from this, um, aside from, you know, expressions are, are geeky, um, is, is that, you know, yes, expressions are geeky, but if you can just wrap your head around it a little bit, and at the very least, if you just know what's possible, and you know that you can go to school, emotion.com and copy and paste these expressions, whenever you need to, you can just maybe buy me a beer. If you ever meet me, um, you can do some super powerful, crazy, intricate stuff in after effects without a ton of effort. You know, this whole demo here, I probably put together in about 45 minutes, because once you have the expression set up, you could just keep making stuff and just keep offsetting it. And, and, you know, I mean, if you're, you know, there are much better designers out there than me that could probably do something amazing with this, right? So, uh, I hope you guys dug this. I hope, um, you know, this is this, this is just scratching the surface of what you could do. You really could do a whole bunch more, really cool MoGraph style stuff with expressions, but this is, this is hopefully a good little intro for everybody. So thank you very much. These expressions will be available for copy paste on the site, and I will see you next time.
Joey Korenman (32:23):
Thank you so much for watching. I hope this was interesting, and I hope you learned something new about how to use expressions in after effects and just how powerful they can be. If you have any questions or thoughts about this lesson, definitely let us know. And we'd love to hear from you if you use technique on a project. So give us a shout on Twitter at school emotion and show us your work. Thank you again. And I'll see you on day 29.
Music (32:50):
[outro music].
ENROLL NOW!
Acidbite ➔
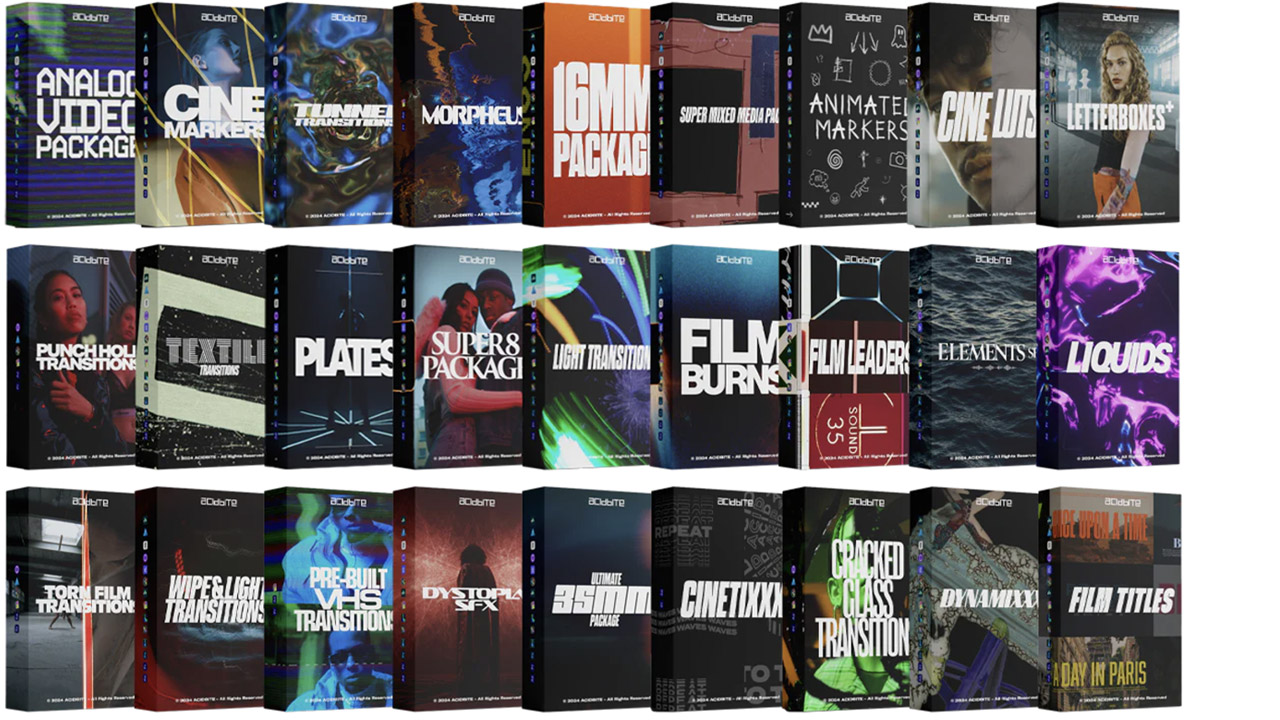
50% off everything
ActionVFX ➔
30% off all plans and credit packs - starts 11/26

Adobe ➔
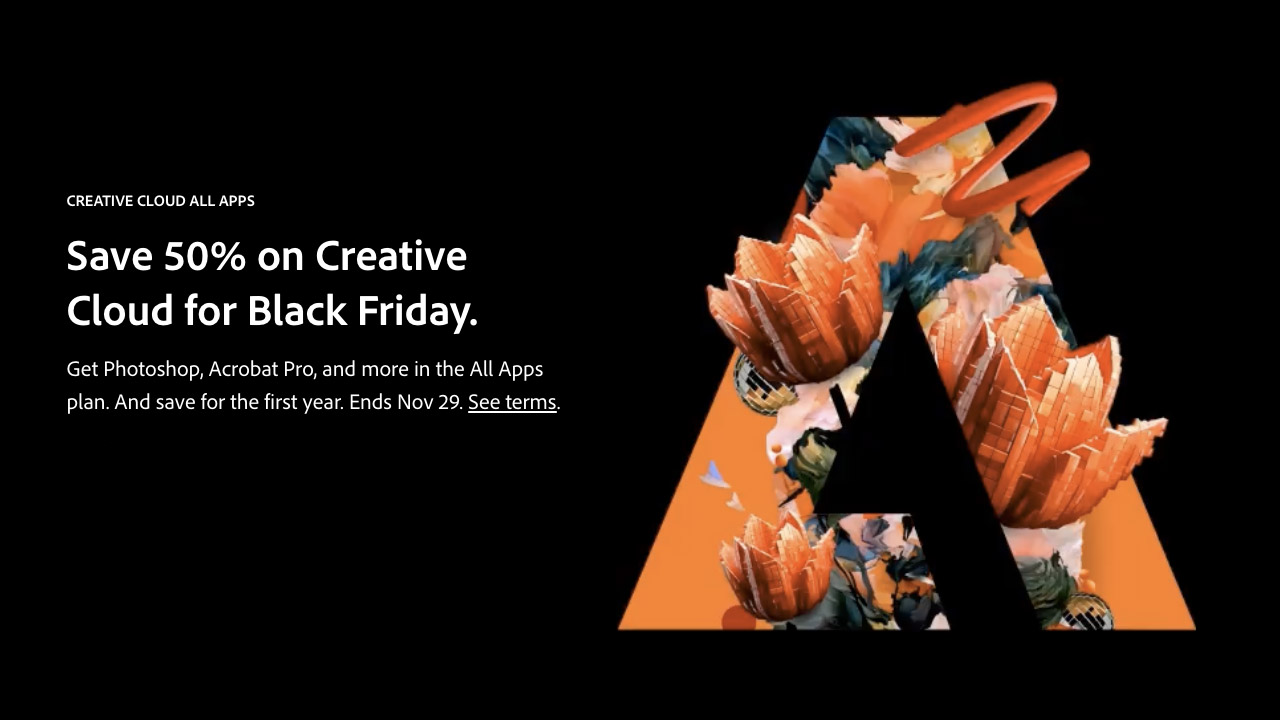
50% off all apps and plans through 11/29
aescripts ➔
25% off everything through 12/6
Affinity ➔
50% off all products

Battleaxe ➔
30% off from 11/29-12/7
Boom Library ➔
30% off Boom One, their 48,000+ file audio library
BorisFX ➔
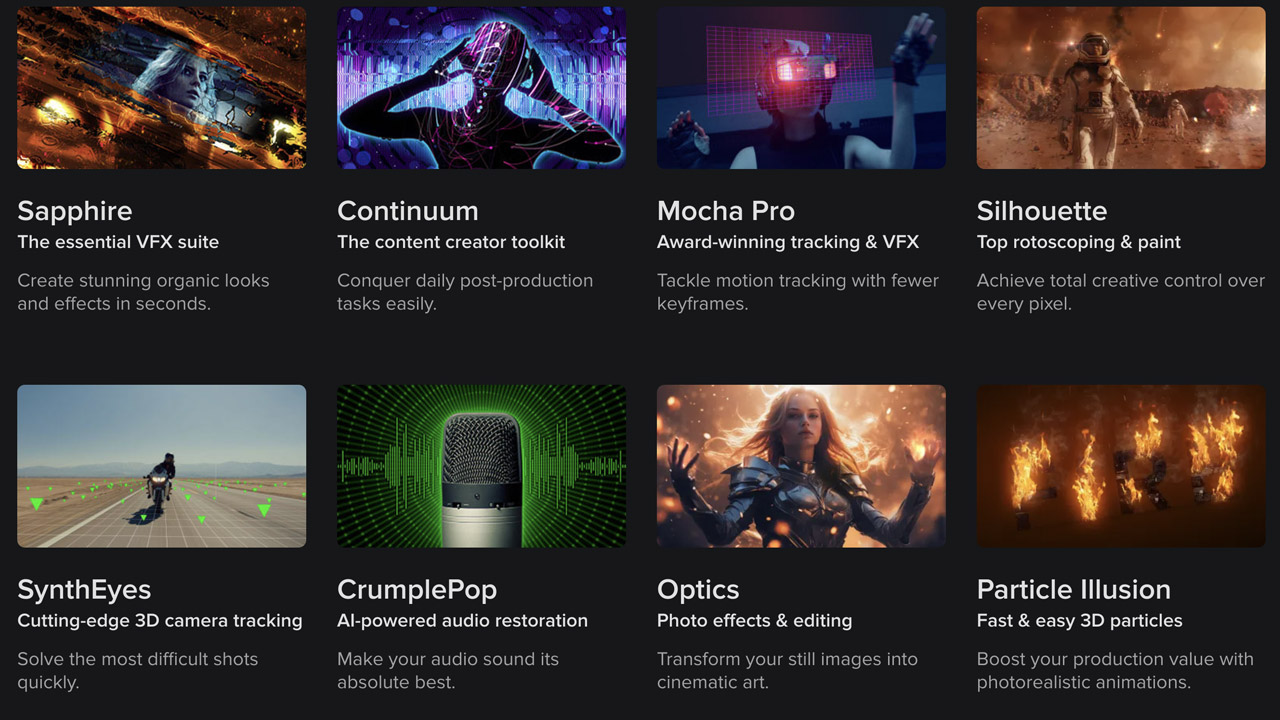
25% off everything, 11/25-12/1
Cavalry ➔
33% off pro subscriptions (11/29 - 12/4)

FXFactory ➔
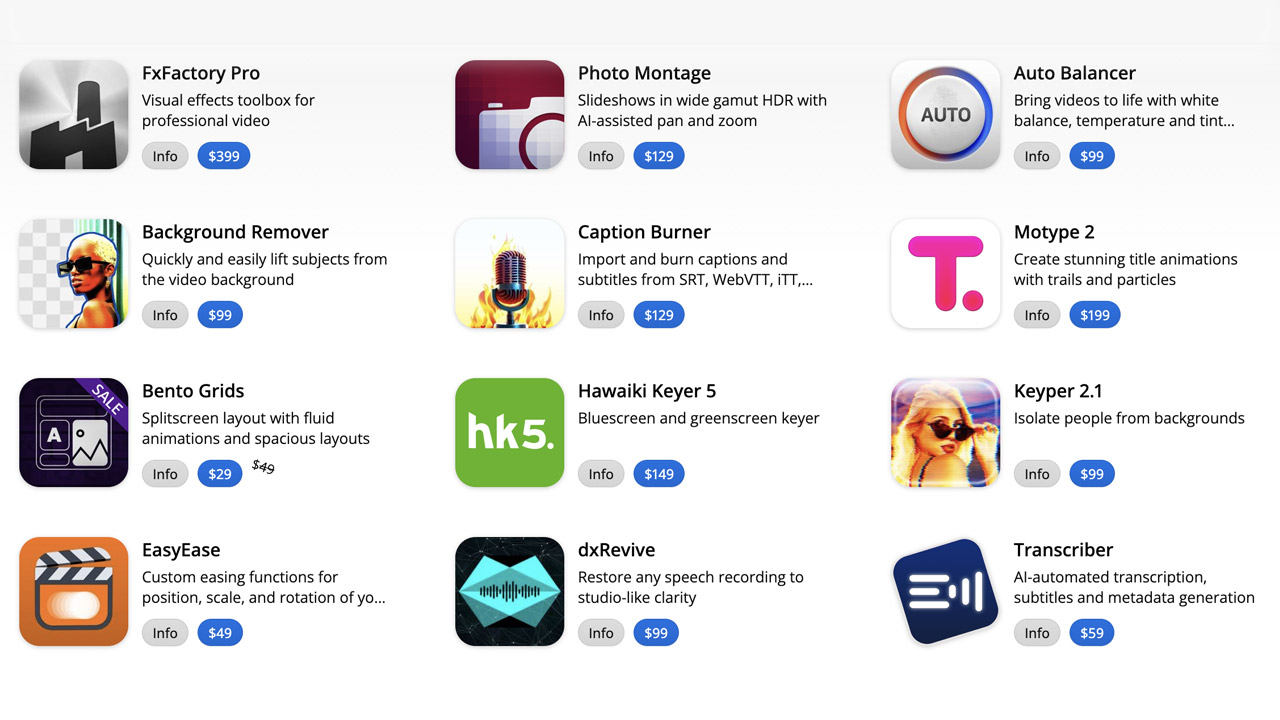
25% off with code BLACKFRIDAY until 12/3
Goodboyninja ➔
20% off everything
Happy Editing ➔
50% off with code BLACKFRIDAY
Huion ➔
Up to 50% off affordable, high-quality pen display tablets

Insydium ➔
50% off through 12/4
JangaFX ➔
30% off an indie annual license
Kitbash 3D ➔
$200 off Cargo Pro, their entire library
Knights of the Editing Table ➔
Up to 20% off Premiere Pro Extensions
Maxon ➔
25% off Maxon One, ZBrush, & Redshift - Annual Subscriptions (11/29 - 12/8)
Mode Designs ➔
Deals on premium keyboards and accessories
Motion Array ➔
10% off the Everything plan
Motion Hatch ➔
Perfect Your Pricing Toolkit - 50% off (11/29 - 12/2)

MotionVFX ➔
30% off Design/CineStudio, and PPro Resolve packs with code: BW30
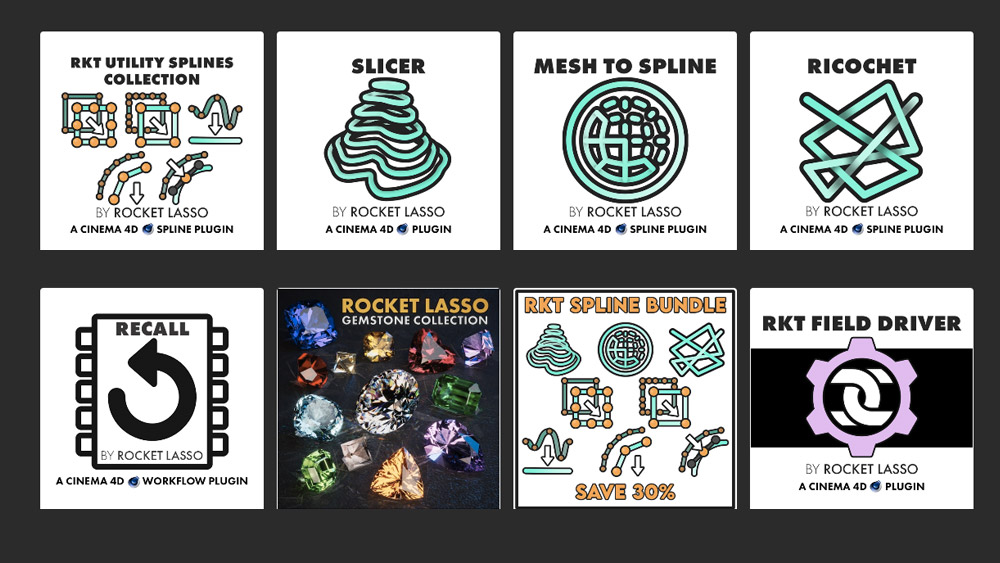
Rocket Lasso ➔
50% off all plug-ins (11/29 - 12/2)
Rokoko ➔
45% off the indie creator bundle with code: RKK_SchoolOfMotion (revenue must be under $100K a year)
Shapefest ➔
80% off a Shapefest Pro annual subscription for life (11/29 - 12/2)

The Pixel Lab ➔
30% off everything
Toolfarm ➔
Various plugins and tools on sale

True Grit Texture ➔
50-70% off (starts Wednesday, runs for about a week)

Vincent Schwenk ➔
50% discount with code RENDERSALE
Wacom ➔
Up to $120 off new tablets + deals on refurbished items


