Find, Book & Keep More Clients
The freelancer's guide to building a sustainable motion design business. Enroll in All-Access to unlock The Client Code and 50+ other courses.

Sometimes motion graphics may look relatively easy, but there are so many steps along the way to complete any project. Let’s dive into the process from client brief to final deliverable.
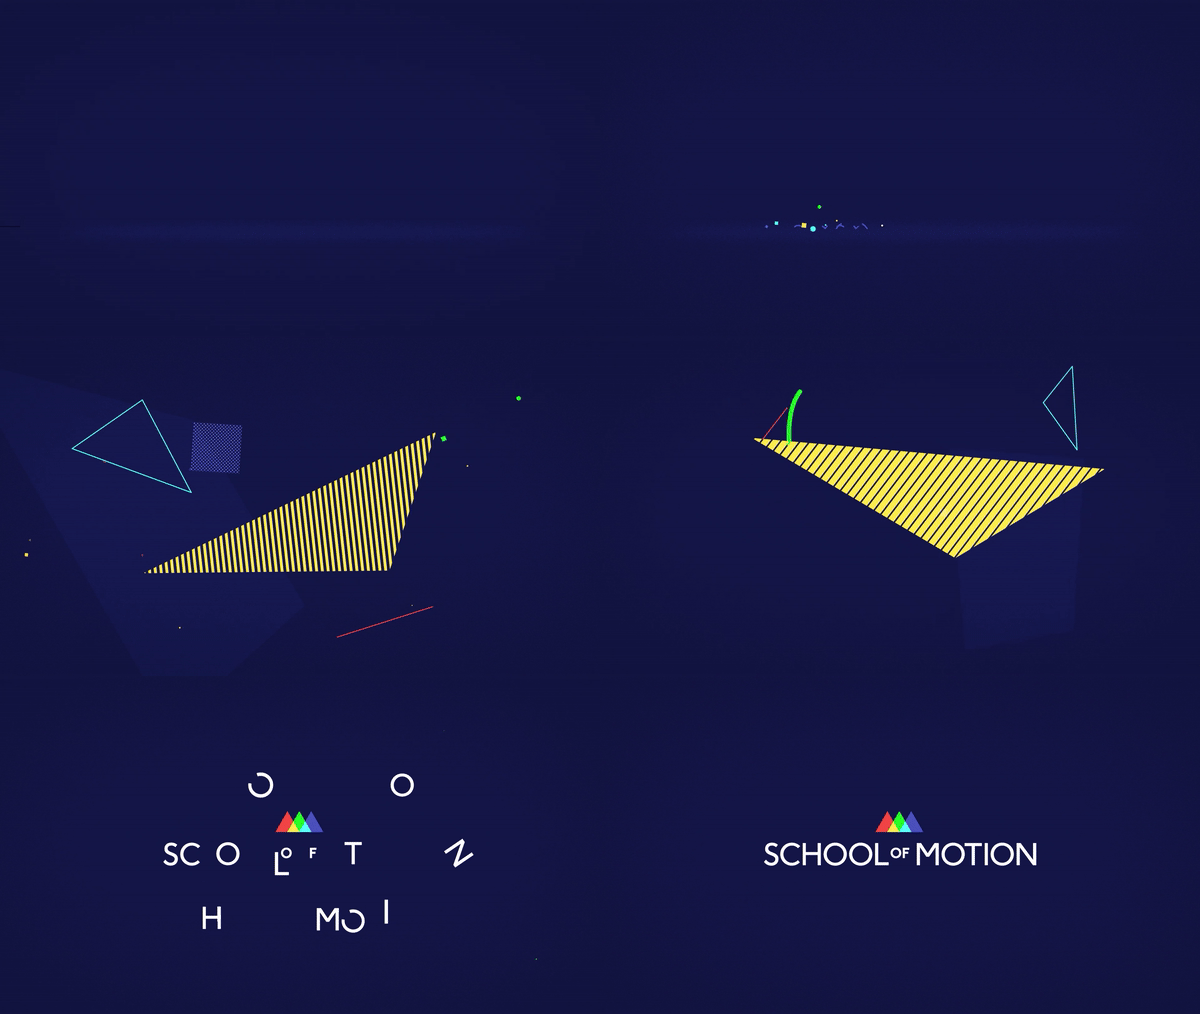
Joey is going to walk you through all of the steps involved in the creation of a piece of motion design, specifically this one:

This animation originally played before all of the free tutorials we put out. It may look pretty simple, but even short little bits of mograph like this can take a ton of work.
1. The Brief
Every project starts with a brief. Sometimes that brief comes from a client and gives you some pretty specific direction. But in this case, the client is me. Now, you might think that would make things easier, but in reality, doing projects with no clear guidelines or direction can be very tricky.
So I made up a brief: Create a 10 to 15-second branded animation that reveals the School of Motion logo while hinting at the type of things we teach.
Animating on a logo is one of the most common tasks a motion designer will have to tackle, and there are a million ways to do it. So to narrow down the number of options from, say, infinity to something more manageable, it helps to develop a concept.
2. The Concept

The concept is the driving force behind every good mograph piece. Sometimes concepts are very concrete, but sometimes you just want to hint at things being a little subtle. I did an exercise called mind-mapping to come up with some options for the concept. I wrote down all kinds of words, phrases and ideas that relate to what we do at School of Motion.
Each idea leads to other ideas, and you can keep digging until you find something that sets off a light bulb in your brain. I eventually landed on this idea here Show, Teach Reinforce.
This is the philosophy behind all of the teaching that we do here at School of Motion. We show you something cool to pique your interest. Then we explode that thing open and show you how it works. And then we reinforce that knowledge so it sticks in your brain.
So using design as sort of a visual language, I translated that basic concept into a visual idea. I usually work out rough ideas like this the old-fashioned way with a pencil and paper. And here's what I came up with. I'll show something concrete, a ball bounce, all then explode - literally. The idea of the ball bounce into a bunch of cool-looking visual metaphors, and then everything will combine back together as our logo. But what exactly will that look like?
ENROLL NOW!
Acidbite ➔
50% off everything

ActionVFX ➔
30% off all plans and credit packs - starts 11/26

Adobe ➔
50% off all apps and plans through 11/29

aescripts ➔
25% off everything through 12/6
Affinity ➔
50% off all products

Battleaxe ➔
30% off from 11/29-12/7
Boom Library ➔
30% off Boom One, their 48,000+ file audio library
BorisFX ➔
25% off everything, 11/25-12/1

Cavalry ➔
33% off pro subscriptions (11/29 - 12/4)

FXFactory ➔
25% off with code BLACKFRIDAY until 12/3

Goodboyninja ➔
20% off everything

Happy Editing ➔
50% off with code BLACKFRIDAY

Huion ➔
Up to 50% off affordable, high-quality pen display tablets

Insydium ➔
50% off through 12/4
JangaFX ➔
30% off an indie annual license
Kitbash 3D ➔
$200 off Cargo Pro, their entire library
Knights of the Editing Table ➔
Up to 20% off Premiere Pro Extensions
Maxon ➔
25% off Maxon One, ZBrush, & Redshift - Annual Subscriptions (11/29 - 12/8)
Mode Designs ➔
Deals on premium keyboards and accessories
Motion Array ➔
10% off the Everything plan
Motion Hatch ➔
Perfect Your Pricing Toolkit - 50% off (11/29 - 12/2)

MotionVFX ➔
30% off Design/CineStudio, and PPro Resolve packs with code: BW30

Rocket Lasso ➔
50% off all plug-ins (11/29 - 12/2)

Rokoko ➔
45% off the indie creator bundle with code: RKK_SchoolOfMotion (revenue must be under $100K a year)

Shapefest ➔
80% off a Shapefest Pro annual subscription for life (11/29 - 12/2)

The Pixel Lab ➔
30% off everything
Toolfarm ➔
Various plugins and tools on sale

True Grit Texture ➔
50-70% off (starts Wednesday, runs for about a week)

Vincent Schwenk ➔
50% discount with code RENDERSALE

Wacom ➔
Up to $120 off new tablets + deals on refurbished items


An in-depth PDF covering the best animation software
3. The Design
Using a combination of Adobe Illustrator and Adobe Photoshop, I designed a few key frames from the sequence so that I could really nail down all of the details.
I used basic composition rules to create frames that were balanced and felt right, and I used our brand's color palette for the colors. Simple enough.
I made sure that the value, basically the brightness was different enough to have lots of contrast. And I figured out what the final frame of this piece should look like. So now I basically have a blueprint for how this animation works, what everything needs to look like, and where we'll end up.
4. Animation
Now, after all of that, we finally hop into Adobe After Effects. My animation tool of choice for 2D Animation After Effects has all the tools they need to take my designs and bring them to life.
Starting with the bouncing ball, I can animate the path, the timing, and the spacing of the animation to make it feel right. There are lots of rules to learn about animating, but once you have them down, this sort of thing becomes intuitive.
Next, I needed an explosion and stuff like this can be kind of a pain to animate by hand because there are so many little pieces. Luckily, there are tons of third-party tools for After Effects that give you new capabilities like this particle generator plug-in Trapcode Particular. Using Particular makes it really easy to add things like bursts of shapes and little effects for each bounce.
The most tedious part of this animation was setting up the shapes that swoop around the screen a few times before recombining into our logo. After Effects has amazing tools for generating shapes and animating them. But in this case, I decided to make the shapes distort and bend around a bit. So I had to use a little bit of code called expressions to rig up my shapes to be animated the way I want.
Finally, I did some simple masking and animation on our logo itself to create a cool-looking reveal which locks into place at the end just the way I designed it. And we're done, right? Not so fast.
5. Audio
Although it often gets shortchanged in the production process, audio is, in my opinion, equally as important as the visuals. I wanted this animation to have a cool sort of futuristic feeling and to have some music synced up to the action.
Later on, in this free course The Path to Mograph, I'll show you how you can handle audio all by yourself using the great tools included in Adobe Creative Cloud and some stock providers. But for this animation, I called in the Big Guns. There are folks out there called Sound Designers, and they specialize in creating custom soundtracks. I worked with one of my favorites, Wes Slover, who built a soundtrack for this piece that fits it perfectly and totally nails my vision for it. Once the final render is complete and the audio is synced up to it, we have a finished piece.
The Path to Mograph
This tutorial comes from our FREE course, The Path to Mograph. It’s a 10-day course, and along the way, you'll learn about the software, principles, and techniques used in motion graphics through in-depth case studies and tons of bonus material.
Find, Book & Keep More Clients

The freelancer's guide to building a sustainable motion design business. Enroll in All-Access to unlock The Client Code and 50+ other courses.


