Combine the power of After Effects and Cinema 4D to create eye popping art!
Nowadays it’s easy to think that you need advanced knowledge of 3rd party render engines to create engaging 3D work. I’d like to open your eyes to what’s possible with literally out of the box settings in Cinema 4D’s standard render and utilizing After Effects to create beautiful 3D content.
Hey there, I’m Jordan Bergren, a freelance Motion Designer and Creative Director. I’m here with School of Motion to take a peek at the possibilities of what I’d like to call “MoGraph Compositing”.
We’ll first walk through some minor prep for rendering out a simple material-less scene from C4D. Then jump over to After Effects to create an aesthetic that would typically require in-depth knowledge of a 3rd party render engine. If you want to follow along or try these techniques out for yourself, you can download all of the files used in this video for free below. And as a disclaimer, we do use a few 3rd party plugins inside of After Effects. All of which are invaluable tools if you’re interested in creating cinematic animation. Let’s dive in!
{{lead-magnet}}
Walkthrough of a Cinema 4D Scene
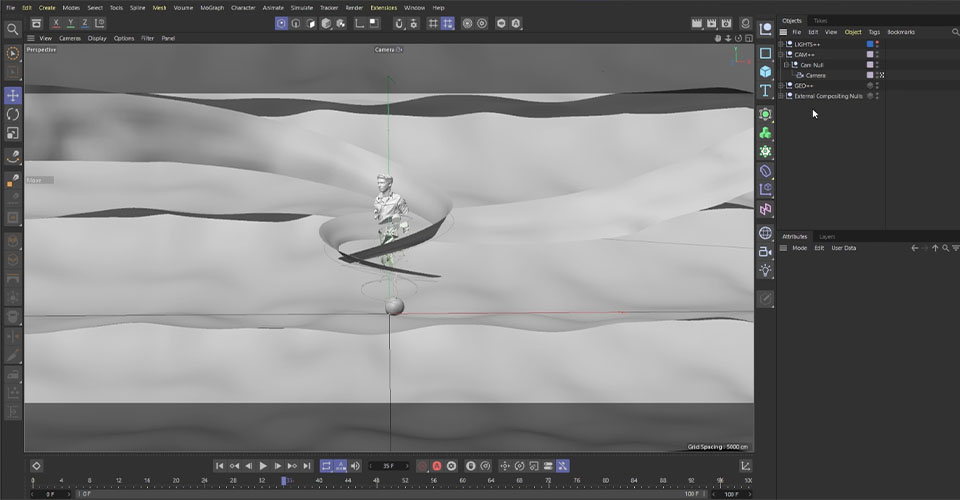
The purpose of this tutorial is to take your multipasses OUT of Cinema 4D and into After Effects to do most of the heavy lifting there, so first let’s take a quick look at our scene. We have a simple setup, with three-point lighting and a layered background to provide some contrast to our subject.
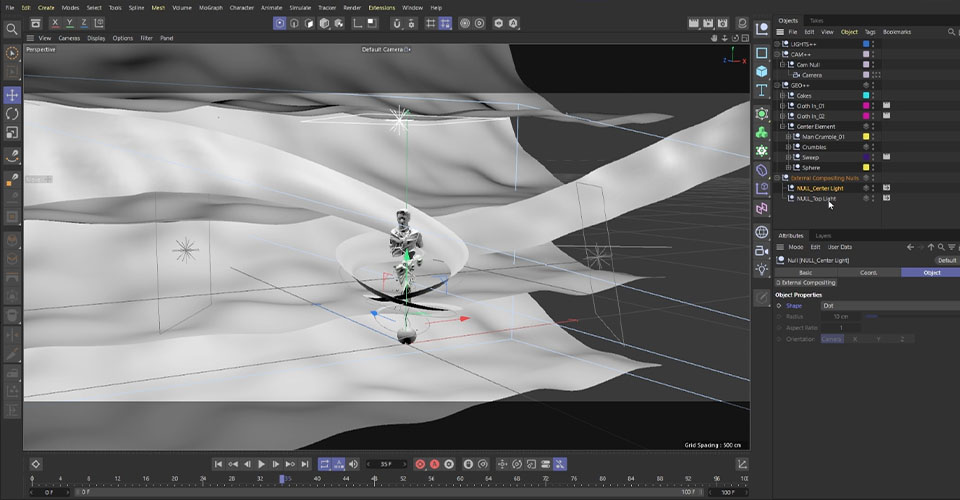
Let’s jump over to our Render Settings above the top-right of our viewer window.

Here you can see the elements we have set up for this render. It can be helpful to go to this more clinical view to make sure you’re not leaving anything out when you move your composition over to After Effects.

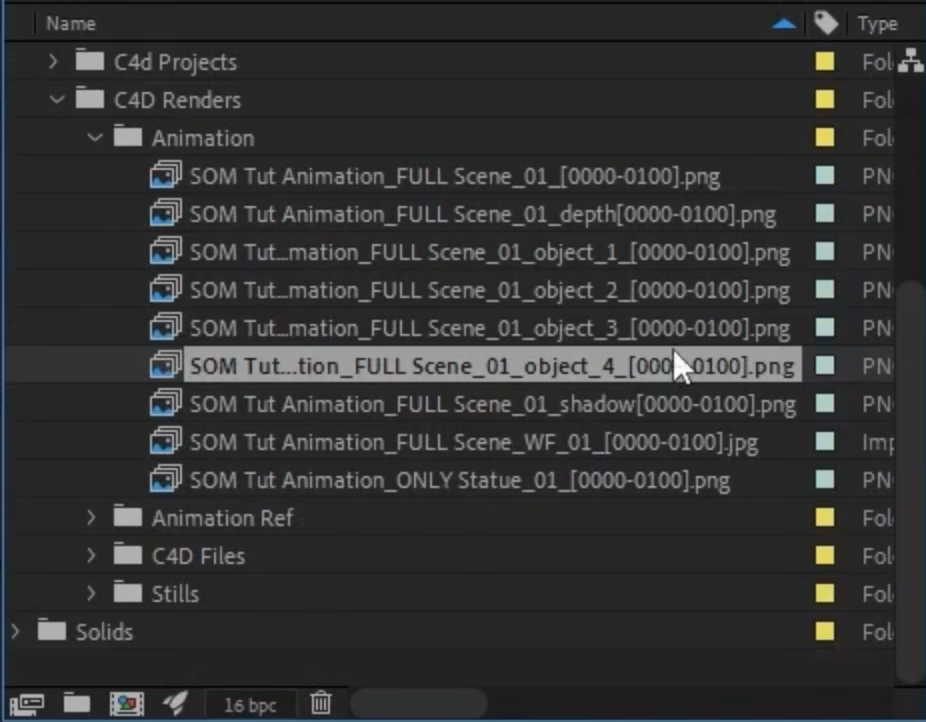
If you look at the project files we’ve supplied, you’ll note we have Ambient Occlusion on our render, but aside from that we have several passes for our composition: Shadow, Depth, and four Object buffers.
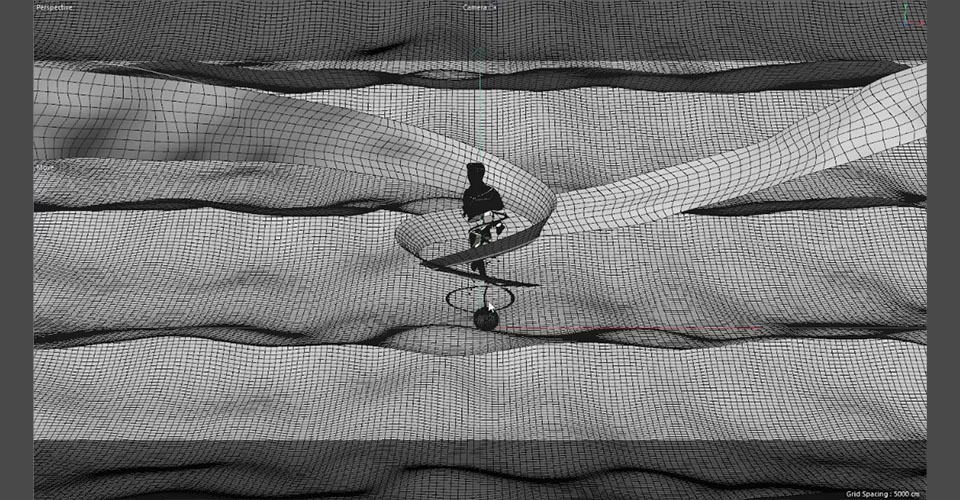
Now, we can talk about Takes at another time, but suffice to say we’ve utilized multiple takes on our spiraling objects and the core statue. This allows us to separate and render elements separately so we have the flexibility of being able to integrate our objects in AE easier.
Now the design and animation of this render is… not the subject of this tutorial. If you want to learn more about how to work in Cinema 4D to create this type of work, check out Cinema 4D Basecamp. For now, let’s head into After Effects.
Moving Cinema 4D projects into After Effects
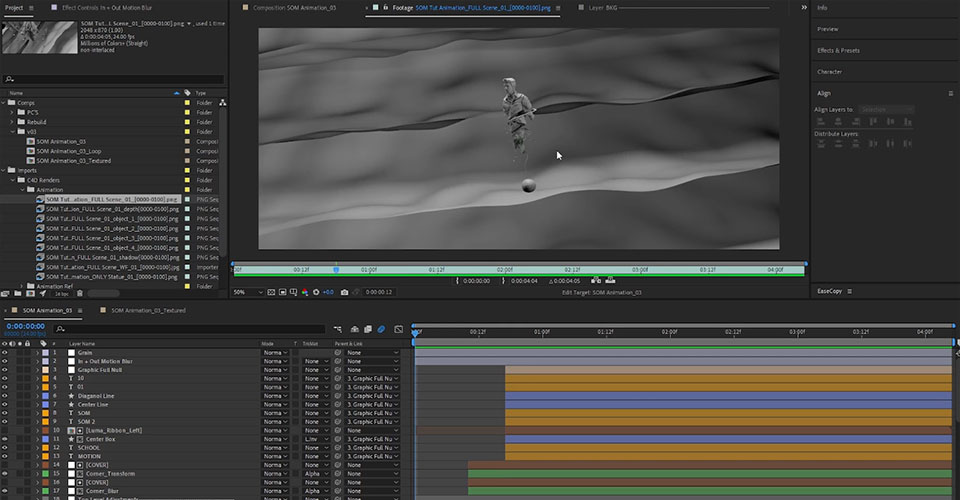
Here we have the render sent from Cinema 4D to After Effects. Now you may notice that our 3D render is pretty bland to put it nicely. We don’t have a lot going on, so how is AE going to take it all the way to the finish line?
One of the first things to do is get organized. As you can see in our Project Window, we have all the renders and passes from C4D neatly labeled so we can access them as needed.
The main concept you need to understand is that After Effects is not a substitute for a realistic, fast render engine. If you’re looking to create photorealistic renders, this process isn’t for you. However, After Effects provides the tools to create unique and stylized compositions, which is what we’ll focus on today.
How After Effects can Mix with Cinema 4D
Let’s go through the elements of our composition and see what After Effects can do.
Background
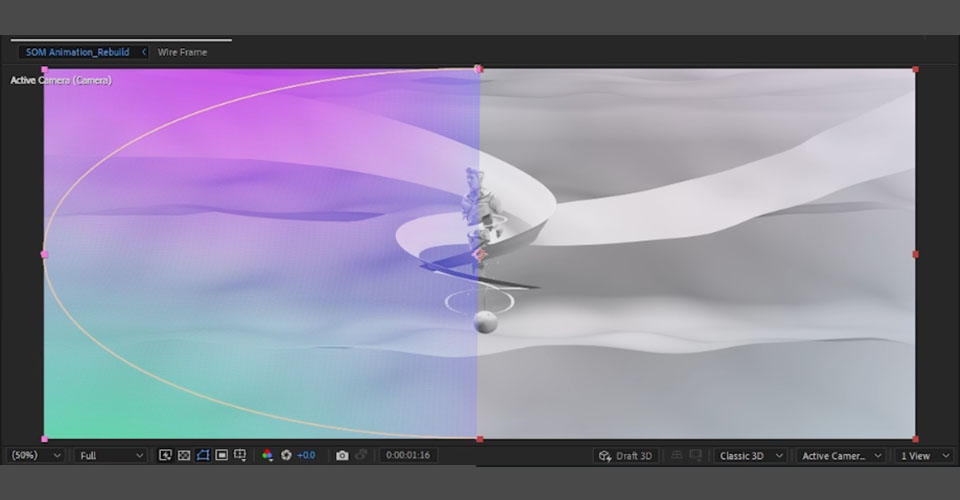
We’re looking at our entire composition, but only focusing on the background. We want to add some visual flare to complement the main object without drawing attention away. We’re using a simple Catch to add a milky, ethereal layer over the back “cake” area, then applying a 4-color gradient using cyan and fuchsia.
Then we add a Mask and blast the feathering so our center object draws the eye even more.
Center Elements
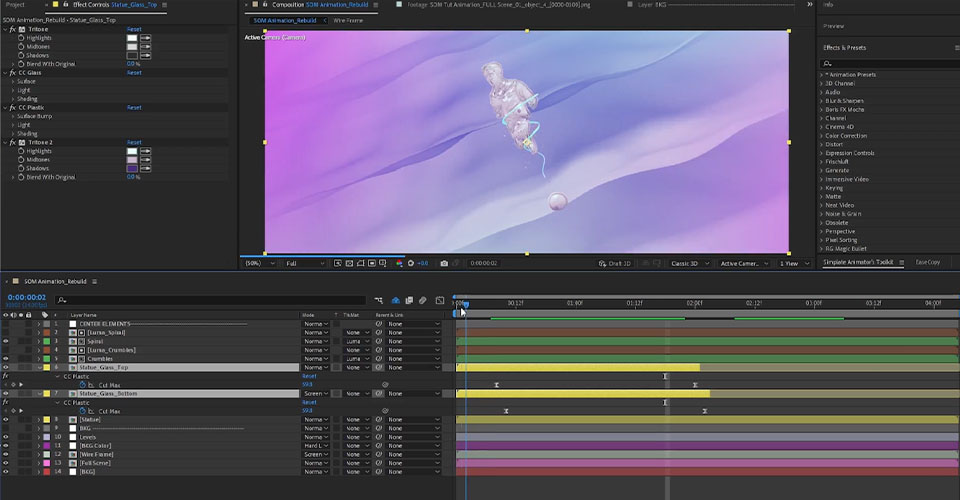
With our Center Element, we’re keeping it very simple with Tri-Tones. Our shadows are pulled from dark purple, our highlights are touching on light blue or cyan, and we're leaving the mids close to a clay color. This helps the object stand out against a more vibrant background.
You can really make a meal out of simple techniques.
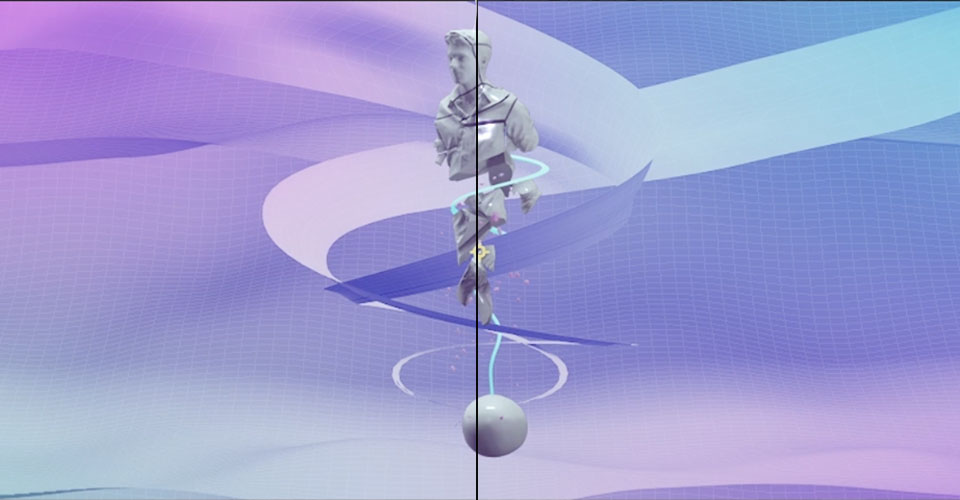
We also decided to add on CC Plastic. Out of the box, this plugin creates a sharp, visually interesting look that marries well to our unpolished object. We’re able to get specular elements without having to render it out in C4D. By having it dissolve off, revealing the CC Glass underneath, we create this really fun effect as though we’re revealing some hidden layer to our statue.
Ribbons and Spiral
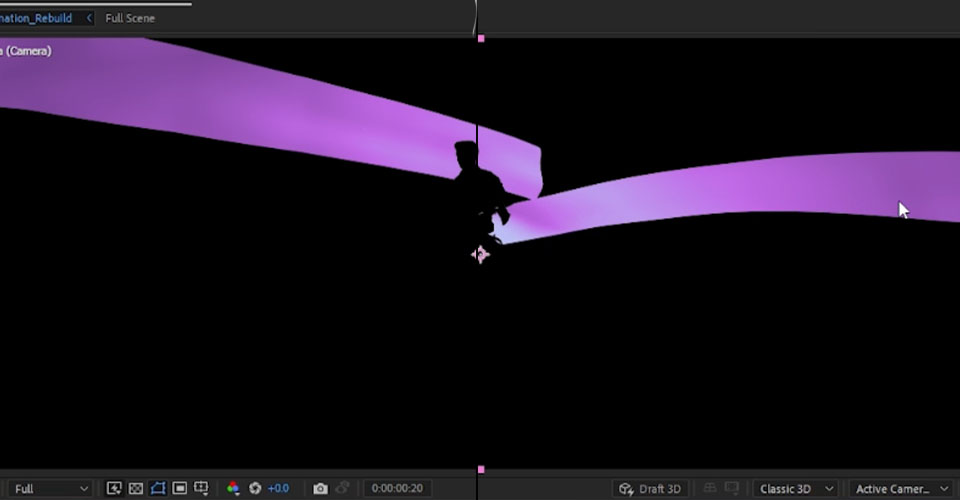
Bring down the Luma Spiral and set it to Luma Matte. We want to work with these elements in turn so that we can be more particular with how they play with the scene as a whole. Having full control over each piece of our composition is ideal for creating this time of artwork.
Again, we’re applying some of the same color palette to match these elements together, and we’re applying some Tint to help the spiral stand out more.
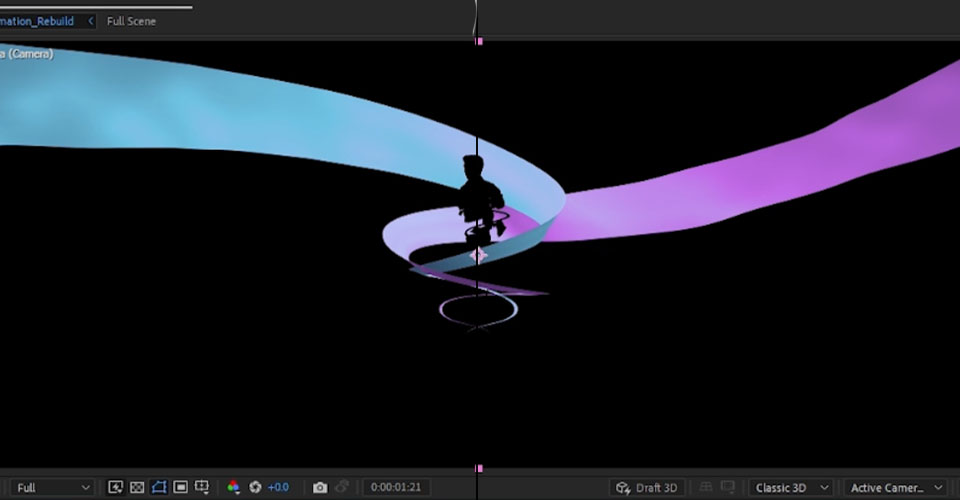
For the Ribbons, we used the same color palette and reversed our cyan and fuchsia from the background element (so cyan comes in over a fuchsia background and vice versa). Then we bring in our Shadow and Wireframe (just barely visible) to add some highlights and texture.
3D Data and Optical Flares
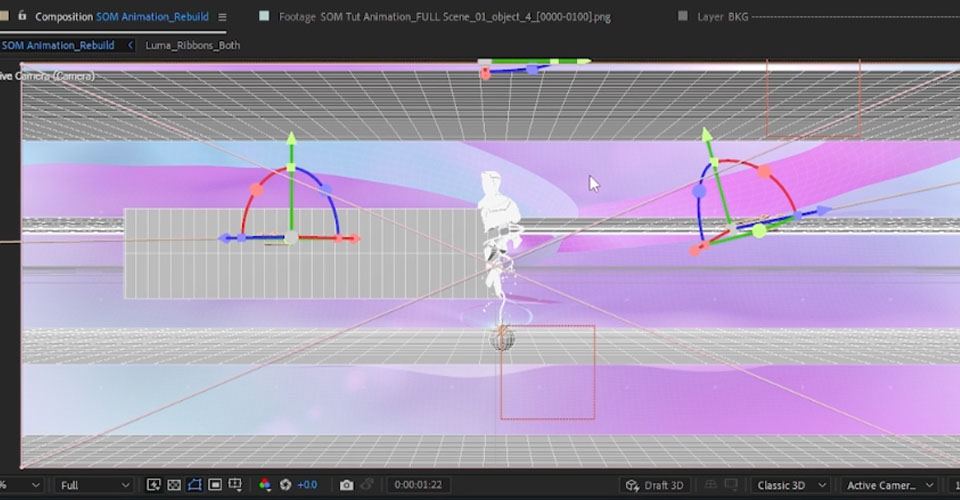
We can utilize the 3D data from Cinema 4D to track optical flares that move with our 3D Nulls. In order to work with that, we need to grab that data from our C4D import, and it’s super easy. Just drag and drop your C4D project file into your Project Bin in After Effects. Cineware is able to interpret all the data from your file using the Extract function.
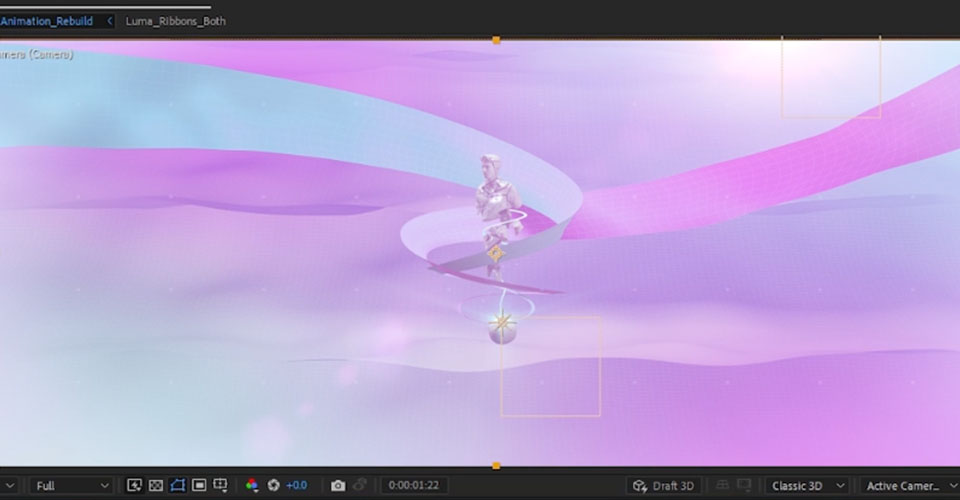
Now we have our lights, our camera movement, and our nulls. We can assign this to our light layers in After Effects, along with color information that we’d like, to add even more dynamic flare to our scene.
Top Level Adjustments
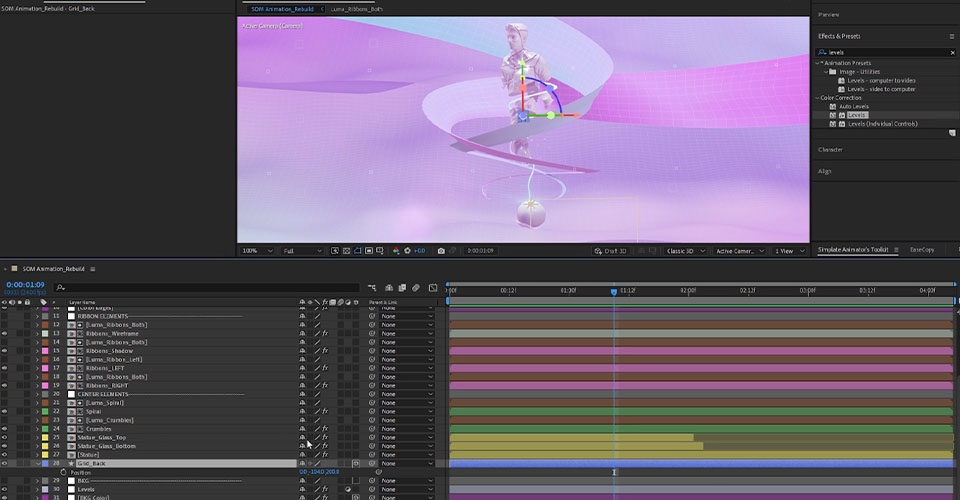
Once we have our composition built, it’s time to add on additional layers and adjustments to dial in the look and style of our scene. When you’re working with just a few objects and need things to pop, these little touches make all the difference.
This can include pulling the focus away from the background, mimicking lens effects at the edge of the scene, or applying LUTS.
Want to see more of our work with Graphical Elements integrated and some bonus touches? Watch the full video above!
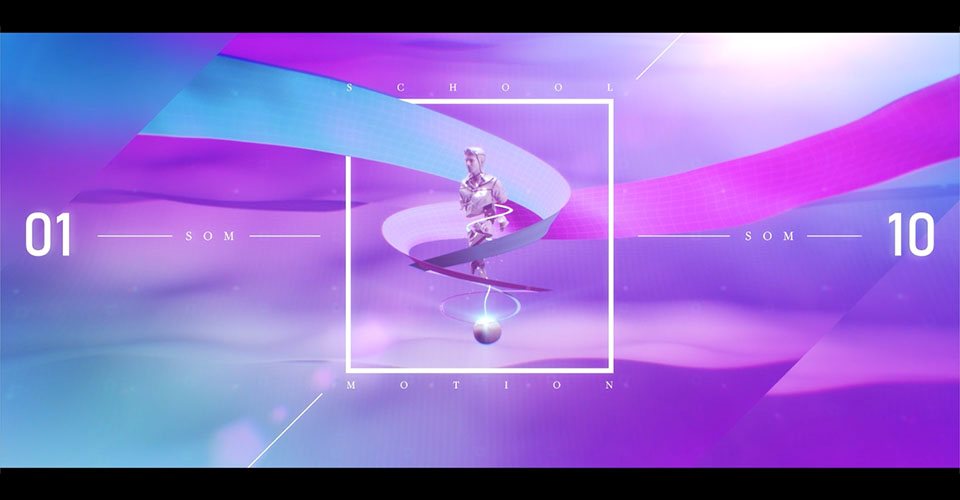
Thanks for joining us! We hope this tutorial opened your eyes to what's possible in using both Cinema 4D and After Effects…and how far you can push a simple clay render!
Do you really want to learn Cinema 4D the right way?
I hope you've learned a lot so far, and if you really wanna really learn Cinema 4D? Check out Cinema 4D Basecamp, part of the School of Motion core curriculum. And if you're already comfy with Cinema 4D and want to take your 3D skills to the next level, check out Cinema 4D Ascent which will teach you the advanced 3D techniques that will make your work stand out.
In Cinema 4D Ascent, you'll learn to master marketable 3D concepts in Cinema 4D from Maxon Certified Trainer, EJ Hassenfratz. Over the course of 12 weeks, this class will teach you the fundamental 3D concepts you need to know to create beautiful renders and tackle any task a studio or client might throw at you.
ENROLL NOW!
Acidbite ➔
50% off everything

ActionVFX ➔
30% off all plans and credit packs - starts 11/26

Adobe ➔
50% off all apps and plans through 11/29

aescripts ➔
25% off everything through 12/6
Affinity ➔
50% off all products

Battleaxe ➔
30% off from 11/29-12/7
Boom Library ➔
30% off Boom One, their 48,000+ file audio library
BorisFX ➔
25% off everything, 11/25-12/1

Cavalry ➔
33% off pro subscriptions (11/29 - 12/4)

FXFactory ➔
25% off with code BLACKFRIDAY until 12/3

Goodboyninja ➔
20% off everything

Happy Editing ➔
50% off with code BLACKFRIDAY

Huion ➔
Up to 50% off affordable, high-quality pen display tablets

Insydium ➔
50% off through 12/4
JangaFX ➔
30% off an indie annual license
Kitbash 3D ➔
$200 off Cargo Pro, their entire library
Knights of the Editing Table ➔
Up to 20% off Premiere Pro Extensions
Maxon ➔
25% off Maxon One, ZBrush, & Redshift - Annual Subscriptions (11/29 - 12/8)
Mode Designs ➔
Deals on premium keyboards and accessories
Motion Array ➔
10% off the Everything plan
Motion Hatch ➔
Perfect Your Pricing Toolkit - 50% off (11/29 - 12/2)

MotionVFX ➔
30% off Design/CineStudio, and PPro Resolve packs with code: BW30

Rocket Lasso ➔
50% off all plug-ins (11/29 - 12/2)

Rokoko ➔
45% off the indie creator bundle with code: RKK_SchoolOfMotion (revenue must be under $100K a year)

Shapefest ➔
80% off a Shapefest Pro annual subscription for life (11/29 - 12/2)

The Pixel Lab ➔
30% off everything
Toolfarm ➔
Various plugins and tools on sale

True Grit Texture ➔
50-70% off (starts Wednesday, runs for about a week)

Vincent Schwenk ➔
50% discount with code RENDERSALE

Wacom ➔
Up to $120 off new tablets + deals on refurbished items


